Glass gem and toy glass marbles are not certified by their manufacturers as mosaic tile or building material, yet it is possible to see some older mixed-media mosaic in houses and churches, particularly in Mexico, where marbles and objects of recycled glass have been used. These materials seem to endure quite well, certainly much better than most types of ceramic tile, which can be highly susceptible to freeze-cracking.
Glass Gems
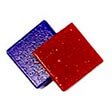
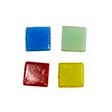
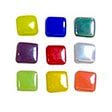
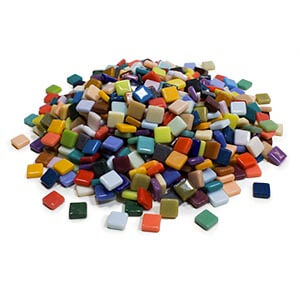
Glass gem marbles have a variety of names: glass globs, flat marbles, craft marbles, accent marbles, mosaic marbles or glass gems. All of these terms refer to a glass gem that is flat on the back side for gluing to surfaces. The shape of the gem is like an enlarged bead of water.
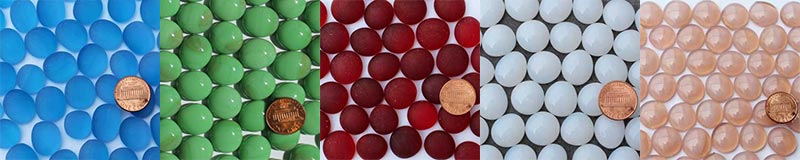
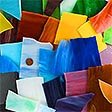
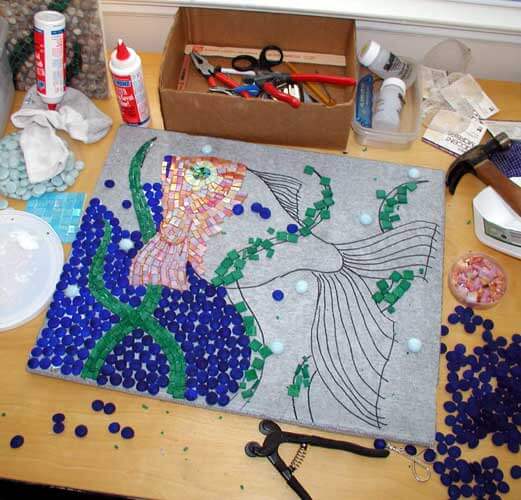
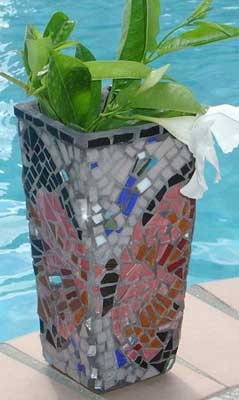
Glass gem marbles are great for mosaic mirrors, picture frames, backsplashes and mosaic stepping stones, but they also work well as accents in mosaic images. You can also use these gems successfully in mosaic art other than “found-object” collage pieces. For example, this goldfish mosaic makes use of tumbled cobalt gems for the background. The rest of the mosaic was made with iridescent glass.
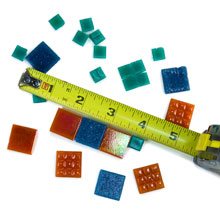
While the centers of the gems are slightly thicker than glass mosaic tile, the edges curve downward, allowing the gems to provide a 3-D texture to the surface without sticking out too far or too abruptly.
Toy Glass Marbles
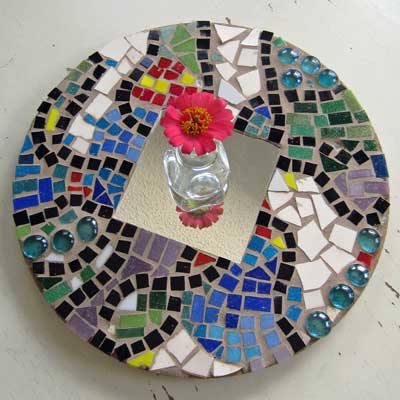
Toy Glass Marbles of the traditional spherical type can also be used in mixed-media mosaic. However, the rounded bottoms mean that marbles make it more difficult to glue them to flat surfaces alongside tile which is much thinner. Thus, toy marbles are best used by pressing into concrete in stepping stone molds or pressing into a special type of sticky concrete known as thinset bonding mortar.
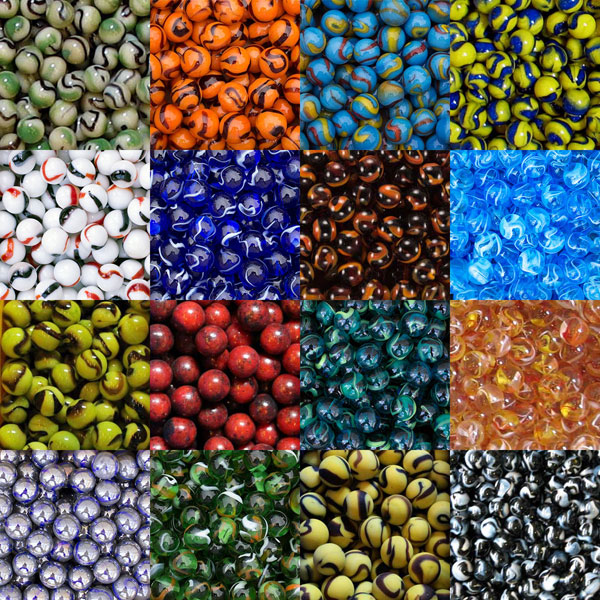
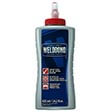
Toy marbles can be glued to a flat surface, but it is best to use a thick and tarry adhesive like Liquid Nails brand construction adhesive or use thinset. Both materials are good at holding the rounded bottoms of the spherical marbles, but thinset has an additional advantage: Thinset is concrete and can be applied extra thickly under thin tile to make up for the differences in height when thin tile is used alongside more rounded materials like glass marbles and gemstones.
Safety and Maintenance
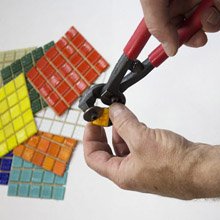
Most types of glass, including glass gems and marbles, can produce extremely sharp edges when chipped or flaked, but so can many sorts of glazed ceramic tile, and all such damaged edges should be removed or smoothed with the fine side of a Ceramic and Marble File to prevent injury.
As always, you would file broken tile when wet, misting as needed, and collect the dust in wet bag for disposal. Keeping the dust wet is an easy was to make sure it stays out of the air, and you shouldn’t risk breathing construction dusts of any type, especially glass dust.