We receive school, church and camp project questions every week, so we know how to make things easy and help you save money!
Project Ideas for Kids
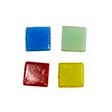
The 3/8-inch vitreous tile is recommended when cutting is to be avoided, but keep in mind that the 3/4-inch size is cheaper and can easily be cut into quarters that are the same size as the 3/8-inch tile. For more ideas on how to source inexpensive materials, click here.
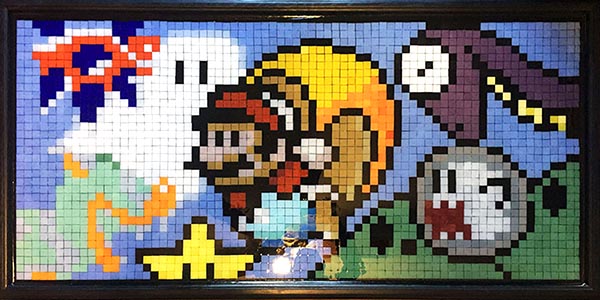
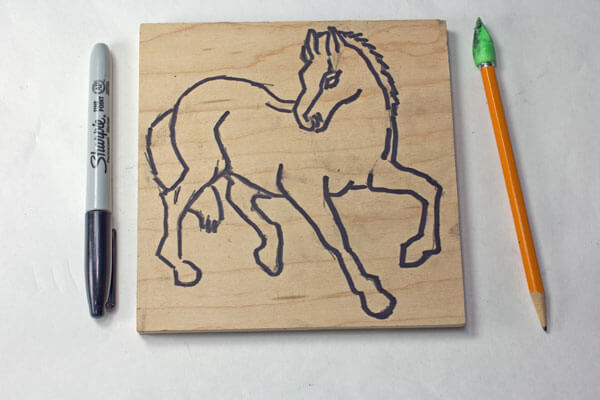
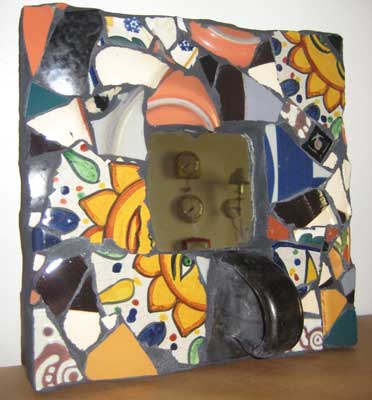
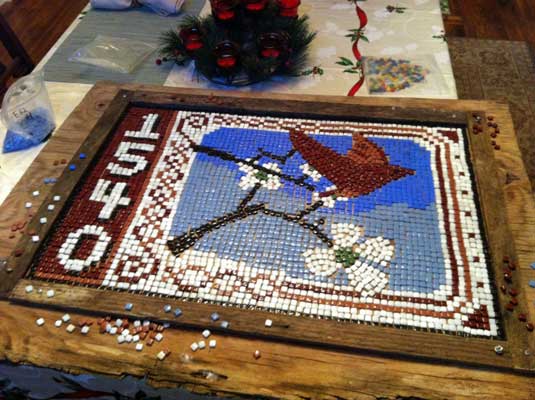
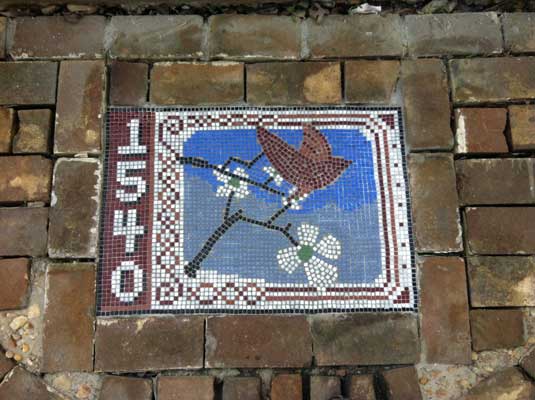
Many types of tile can be easily used to create fun and simple to design ‘pixel art’ style mosaics based on your own designs or even video game characters. Students can be instructed how to make their designs on graph paper in colored pencil before laying them out in tile using a grid. We carry grids in most common sizes to make the process painless!
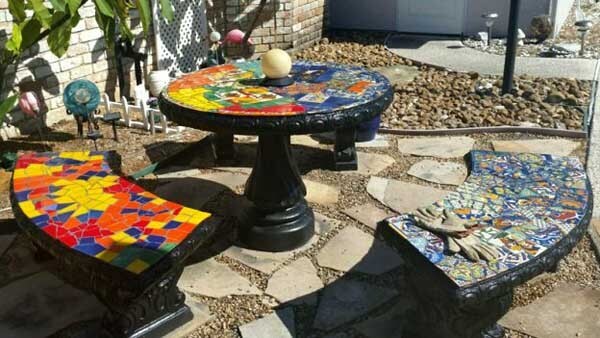
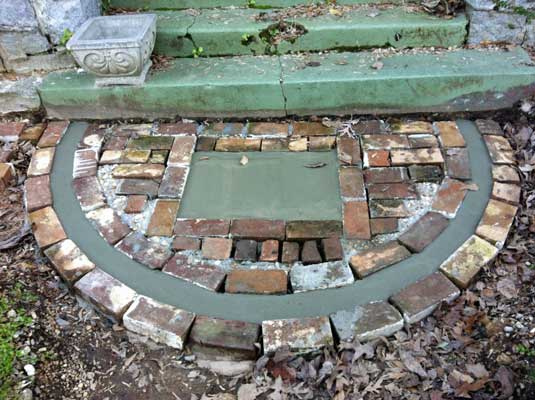
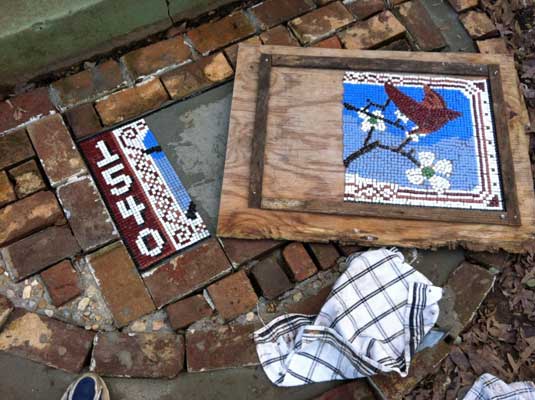
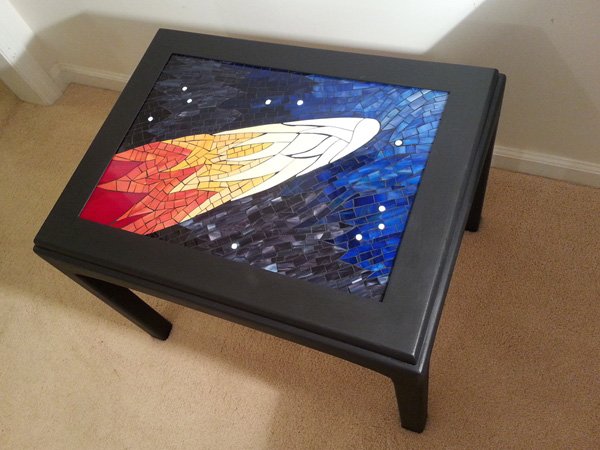
Benches, tables and other outdoor furniture are popular group projects for kids. We have a ton of information on our blog about outdoor mosaic materials an methods. Keep in mind that the materials used for a mosaic which is to survive exposure to the elements aren’t the same as indoor mosaics. Review our guide on outdoor mosaic for details.
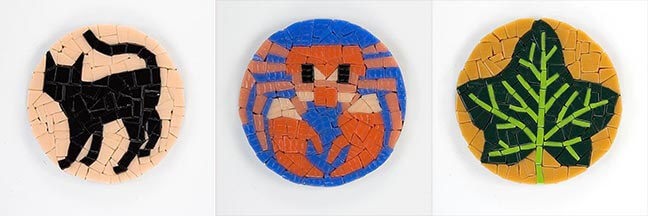
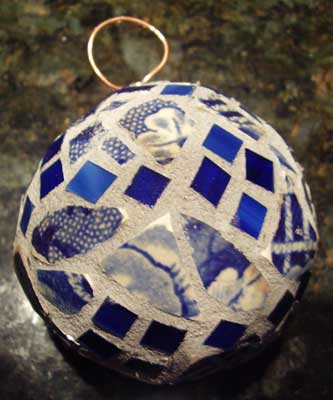
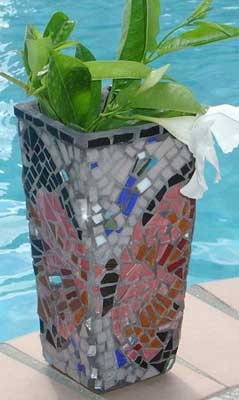
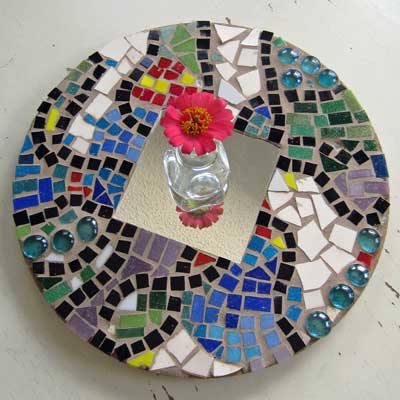
For smaller projects, coaster sized mosaic bases can be used to great effect! The designs can be very simple and freely executed with much satisfaction. In fact, this type of small project can be a fantastic, low stress introduction to mosaic for kids and adults alike.
Materials used in the projects on this page:


Supervision and Safety
All children should be given adequate adult supervision. Wear safety glasses with side shields when cutting glass or mixing grout.
While many forms of mosaic involve cutting glass with cutters, nippers or pistol-grip cutters – uncut tiles can be handled safely and used to build a satisfying mosaic without cutting. However, children should be instructed in sound handling practice, as even a molded tile can occasionally have a sharp edge.
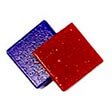
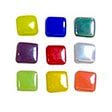
Our line of 12mm Morjo tile is easy to handle with safe rounded edges.
It also comes in a full spectrum of colors as well as iridescent varieties.
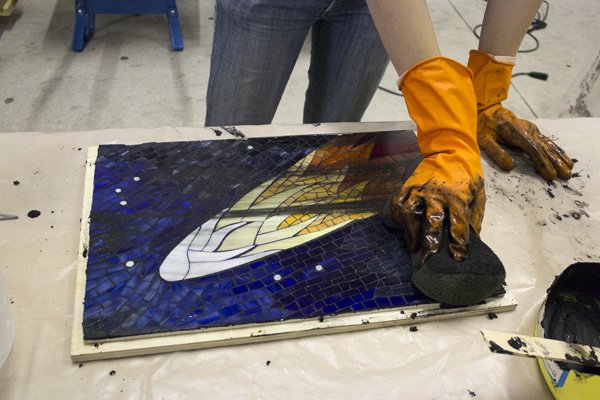
Note that it is often easiest to grout the children’s mosaics for them outside the class or session for several reasons. First, the glue needs to dry a day or two before you grout. Also grouting is the messy and mildly hazardous part, and the focus of the children’s work should be the creation of their own unique design and gluing the tiles. Many instructors report having some of the older children help with some of the labor of grouting with great success, but all agree that having an entire class play with wet concrete is a bad idea, especially with young children. Always read manufacturer’s safety instructions on grout and glue. Keep in mind that even whole glass tile can be sharp due to occasional chips and breaks that occur with shipping and handling.
How to Save Money on Mosaic Projects
Grout
Grout can be purchased cheaply in large bags at building material stores. Our packages are small convenience packs for individual projects, and they require a shipping charge to get to you.
Mosaic Backers
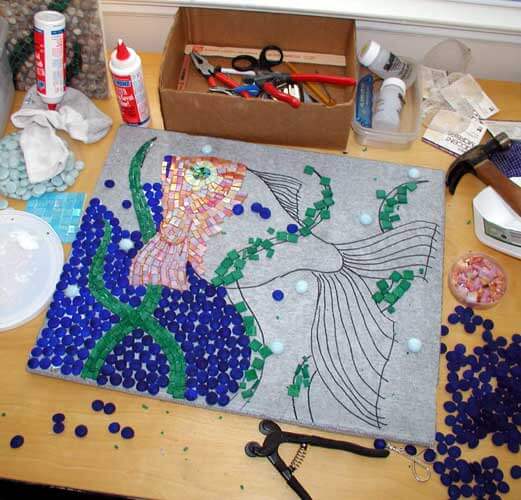
A popular project for church and camp mosaics is a 6-inch x 6-inch mosaic trivet. The best backer for 6×6 trivets is 1/2-inch cabinet-grade plywood which comes pre-sanded. We sell plywood mosaic backers for small projects, but you can buy a sheet of plywood and skill saw to cut it much more cheaply than you could buy the expensive backers from one of the craft websites! Ask one of the parents or a friend if they could cut up the plywood. Someone probably already has a saw and a truck to pick up the plywood.
Glue
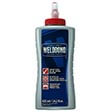
Instead of buying a separate convenience bottle of glue for each child, you should buy a jug of Weldbond glue and pour a little bit for each child in a styrofoam plate. They can use popsicle sticks to apply the glue.
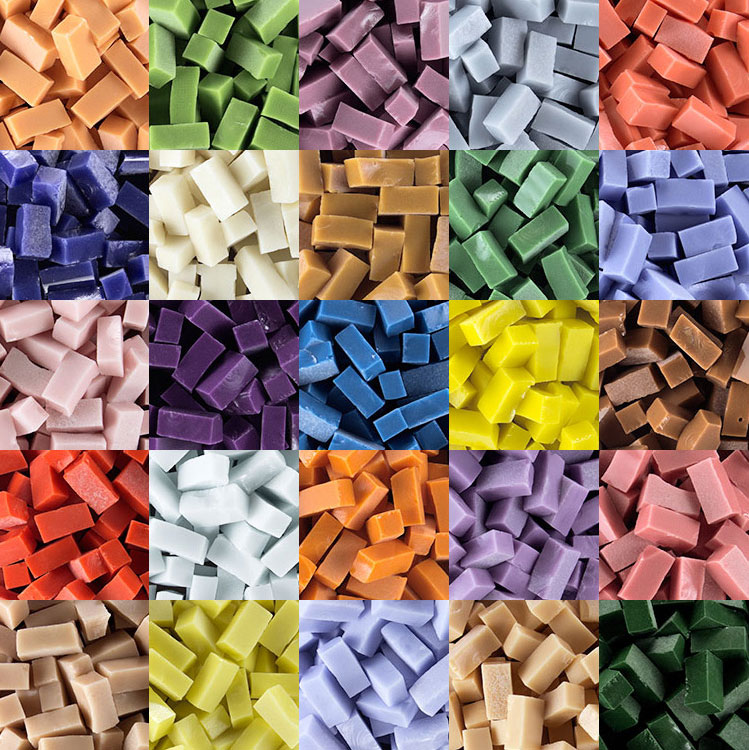
Tile
MorjoTM Vitreous 3/4″ Tile and MorjoTM Vitreous 3/8″ Tile are our most affordable glass tiles. Read our guide on inexpensive sources of mosaic tile by clicking here.
Mosaic Kits
Mosaic project kits may at first seem like an easy solution, but most popular kits we’ve reviewed have poor quality materials (sometimes even plastic tiles!) in quantities that make them much more expensive than ordering individual materials would be. It’s much better to plan the project out and order all the materials at once, avoiding extra shipping charges. Furthermore, kits are usually marketed with eye catching ‘results’ that can leave a young mind disappointed and stifle their self expression. Joe has stated about craft kits in general, “The kits were about producing over-the-top results instead of experiencing a traditional art form in the way it had been experienced for generations. But even that statement does not adequately explain what was wrong. The kits were about PROMISING over-the-top results, but they were pretty weak in the delivery.”
How to Order Supplies as a School, Church, Camp or other Organization
We accept purchase orders! Read our Purchase Order instructions by clicking here.
Questions, Concerns & Project Advice
Still have unanswered questions about your project or how to order? We’re happy to help with any step of the project. Contact us via email by clicking here. We respond to e-mails faster than any other type of inquiry!