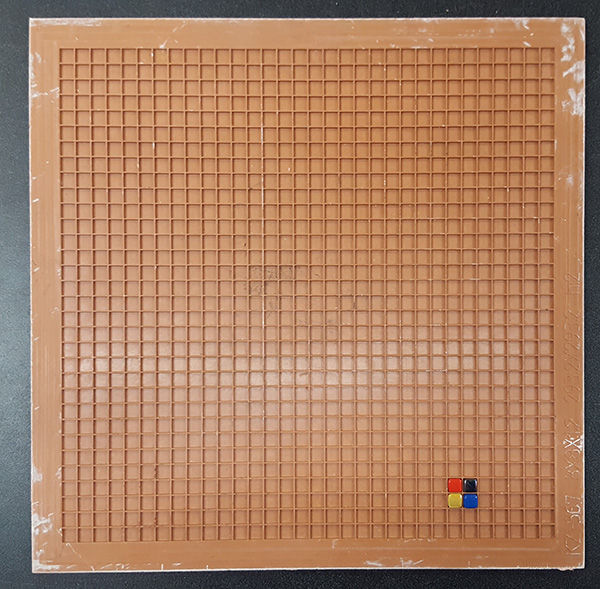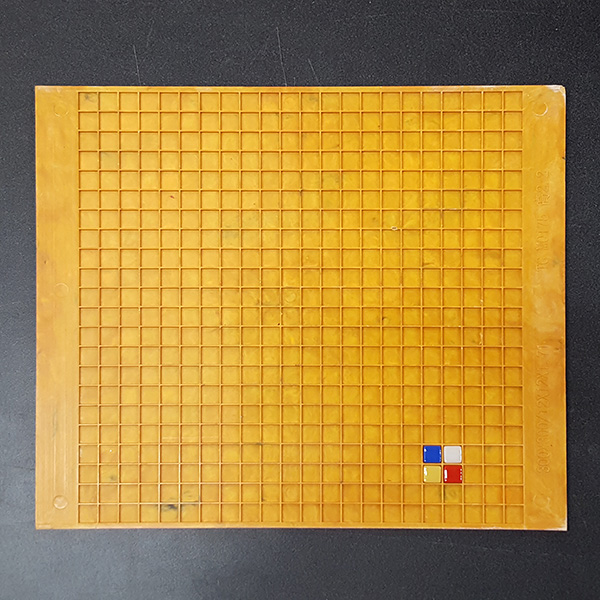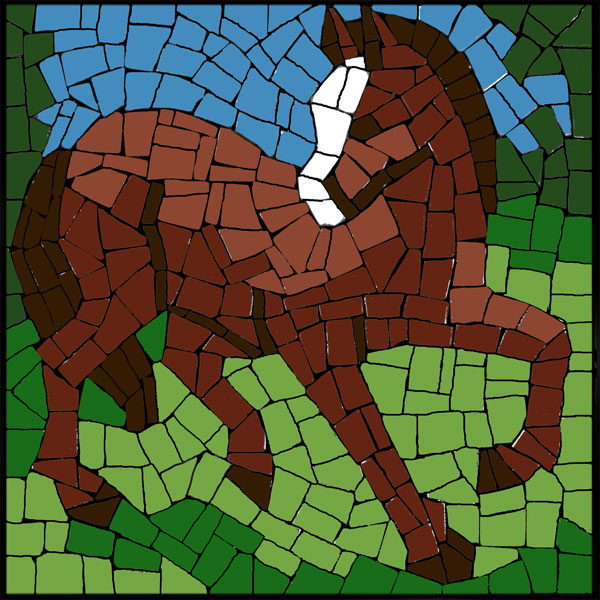
Free Mosaic Pattern Horse fits the 6×6-inch mosaic backer board we sell and can be transferred onto the board using these instructions in our blog article. Carbon transfer paper may be easier than coating the entire back of the pattern with charcoal because there are so many lines to be transferred.
Prints on 8.5 x 11 inch paper.
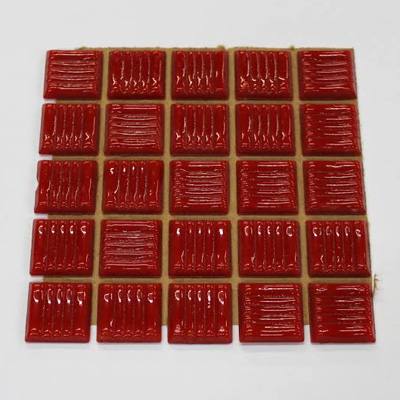
<!–This pattern was designed using the 12mm (~1/2 inch) Elementile Recycled Glass Mosaic Tile.
Mosaic Tile Needed
The more closely you attempt to fit the tile together, the more tile you will have to scrap because they don’t always cut exactly as desired. It is easier and more efficient to leave a grout gap. You need a grout gap to properly seal out water.
These numbers are inflated to account for cutting scrap. In theory, you can cover the entire pattern in 144 UNCUT tiles with barely a gap. These numbers at their high end add up to 288 tiles, and 216 tiles at their low end. It’s better to have tile left over for other projects, especially if you aren’t sure how steady your cuts will be.
[JOE MOORMAN WILL PROVIDE COLOR RECOMMENDATIONS AND ESTIMATES]
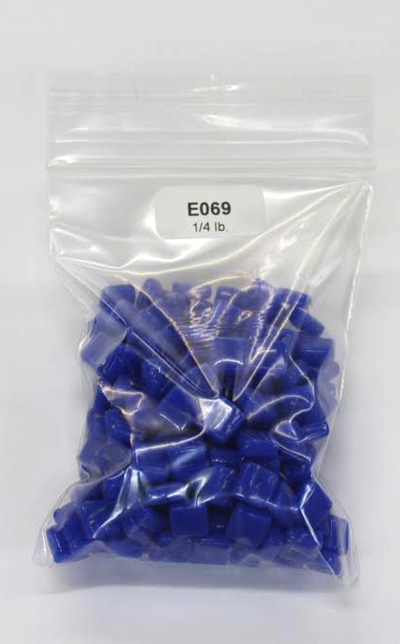
No Partial Bags Sold
We cannot sell partial bags of tile. Of course you will have many tiles left over if the color is only used in 2 or 20 tiles! That is a good thing. You build a library of materials at home that you can be used for other mosaics, hopefully your own designs. We plan to offer kits soon that include the quantities listed above, but until time permits that work, please do not email us asking for partial bags.
–>Free Mosaic Pattern
Free Mosaic Patterns are available as PDF downloads for customers who checkout using the normal shopping cart checkout process. Other materials do not have to be ordered.
Mosaic Art Edges
This pattern mounted on the 6×6-inch backer board produces a mosaic where the tiles extend all the way to the edge of the board so that edge of the mosaic looks like what it is (an authentic mosaic).
However, the tile needs to stop at the edge of the backer and not stick out. If unframed, the outer edges of the glass tile need to be smoothed by rubbing with a fine-grain stone of moderate hardness, which can be found on the ground or streets most places, or by using the fine-grain sides of a ceramic marble file or a dual-grit rubbing stone. Rub finished mosaics with care and practice first by rubbing sharp tiles before you glue them down. (I have used ordinary found stones for this purpose -JM)
Fits In Standard Frame
A finished 6×6-inch mosaic made with glass tile on our backer boards should have the same dimensions and thickness as a 6×6-inch stretched canvas painting, and so it can fit in a standard 6×6-inch gallery frame meant for paintings.
Displaying Mosaics Unframed
Many books and authorities recommend NOT extending the tiles all the way to the edge of a backer because it makes those tiles vulnerable to damage by impact and by leaning the mosaic on its edge. We have observed that the 6×6-inch size is small and light enough to be handled without these types of damage being as much of an issue provided the mosaic is handled with care. Also, we think the raw mosaic edge is a vital part of the look and feel when displaying the finished artwork. The make great objects d’art when displayed unframed in the easels used for displaying china plates.
How To Make Mosaics
For more advice on designing your mosaic project or cutting and grouting tile, please see our Mosaic Frequently Asked Questions page or our How To Mosaic blog or our Mosaic Information Guide.