Mosaic fireplaces are made by applying mosaic to the surrounding face, but not the inside of the fireplace itself. In fact, if the fireplace is actually used and not merely decorative, you probably shouldn’t mosaic the hearth (floor) in front of the fireplace because heavy chunks of wood and fire irons tend to crack and knock tile loose over time. That being said, porcelain tile and many varieties of stone are very hard and could be used for the hearth. The fireplace surround can be mosaiced with a variety of materials including glass tile.
Brick and stone should be plastered over with thinset mortar to smooth the surface in advance of actually applying the mosaic. Alternatively, 1/2 inch concrete backer board can be mounted over the existing fireplace surround as a backing for your mosaic.
For mounting the tiles, a white PVA adhesive such as Weldbond or thinset mortar should be used. I have written a page for using thinset mortar for detailed mosaic art, but for larger tiles, the thinset could be spread with a 1/4 inch notched trowel, and the tile pressed into it relatively quickly as is typically done with bathroom tiling.
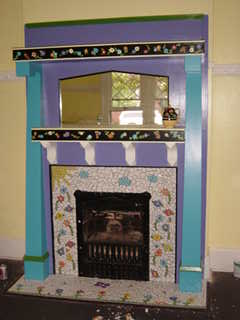
A Whimsical Fireplace Mosaic
The fireplace mosaic below is a whimsical design made by my friends for their ice cream shop, which was located in a restored Victorian house in Decatur, Georgia. The color choices and motifs are in keeping with the kid-friendly theme of their shop.
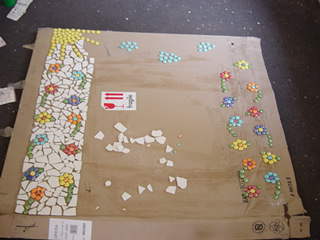
Mosaic designs can be developed merely by playing with tile in different arrangements.
Concrete backer board can be mounted over the existing fireplace surround or mortar can be spread in advance of the mosaic work.
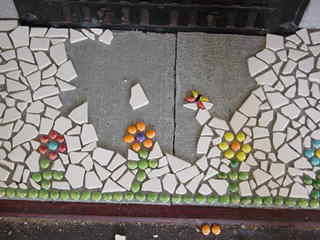
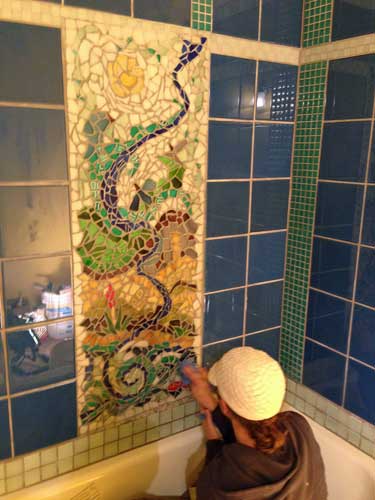
Mosaic tile may be mounted individually or on mesh-mounted sheets or face-mounted on paper for pressing into mortar.
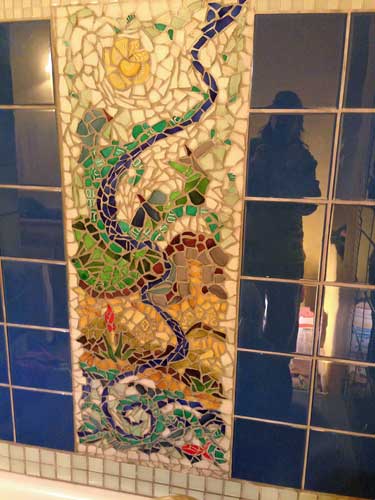
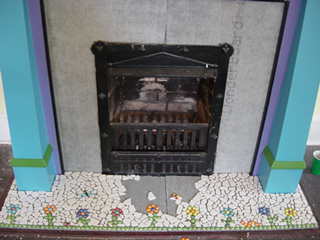
The mosaic fireplace surround and hearth are completed.
An Outdoor Fireplace Mosaic
For outdoor mosaics subject to rain, humidity and freezing temperatures, thinset mortar should be used instead of adhesive to mount tiles. Thinset is a sticky concrete product that contains polymers for added strength and adhesive properties. We usually use it for grouting our outdoor mosaics because it is stronger than grout, and it will be the same color as any thinset that squeezes up between the tiles from when they were attached. We have successfully dyed thinset with concrete dye without any noticeable loss of strength or adhesion. Concrete dye and thinset are sold at most building material stores.
The fireplace below is actually an outdoor pizza oven, based on the wood-fired Italian variety, and the mosaic is on the hearth in front of the oven. The oven and the mosaic were made by one of our customers and her boyfriend in his backyard. “I Cinquanta Gradini” means “The Fifty Steps” in Italian, a reference to the 50 steps leading up to the house and oven.
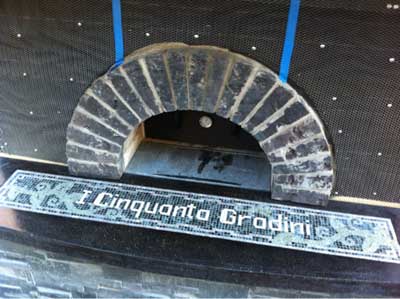
Outdoor mosaic pizza oven under construction.
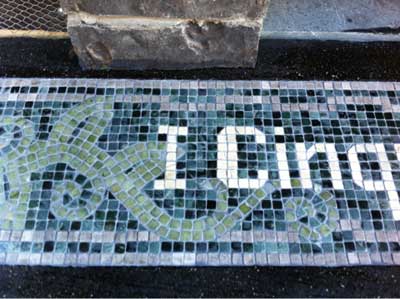
Hearth detail from outdoor pizza oven.

 The first step in making a mosaic medallion is to draw a pattern and tape it to a work table and cover the pattern with construction plastic or plastic kitchen wrap so that you don’t glue everything to your pattern. On top of this, fiberglass mesh is laid and the corners taped or tacked down securely. Although the pattern should be visible through the mesh, I find it useful to take a Sharpie brand marker and trace the design on the mesh directly just to make sure I can see it once things get a little messy.
 For most floors, water isn’t that much of an issue, but for shower floor and bathroom floor mosaics, it is something to think about. For these “wet” mosaics, I like to use only a drop of glue at the center of the tile when I attach it to the mesh. This leaves some of the tile uncovered by glue so that it can bond directly to the thinset mortar when the finished mosaic is mounted to the floor. The thinset mortar is much more water resistant than white PVA glues such as Weldbond. (That being said, Weldbond is fairly water resistant when fully cured.)
 Thinset mortar and grout are both concrete products that can stain porous materials like unpolished stone. To prevent this, the mosaic should be sealed before you grout it (and probably before you mount it because accidents can happen during mounting). The catch is that you don’t want to seal any surface where grout will need to bond, including the sides of the tiles. You only want to seal the top face of the stones. To do this, I use a small artist’s paint brush and carefully brush the sealer on the top face of the stone taking care to not let excess sealer run into the gaps between the stones. I use TileLab brand “Grout & Tile Sealer” for a normal seal. I use TileLab brand “Stone Enhancer & Sealer” if I want to slightly enhance/darken the stone colors (recommended). Both of these are available at Home Depot. Note that these products are invisible pore sealers and not an actual coating like polyurethane.
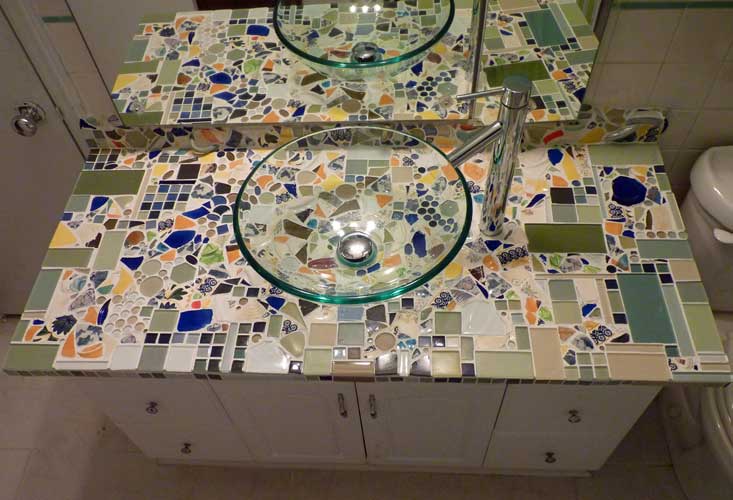
 The finished compass rose medallion is well integrated with existing floor and the color scheme of the room. Congratulations Caroline on the job well done!