 Update for March 2025:
Weldbond is a product of Canada. Due to the 25% tariff on Canadian goods enacted by President Trump, we are forced to to raise the price of the Weldbond by 25% to pay for the tariff. Weldbond remains an excellent glue for dry, indoor mosaics using the direct method.
Update for March 2025:
Weldbond is a product of Canada. Due to the 25% tariff on Canadian goods enacted by President Trump, we are forced to to raise the price of the Weldbond by 25% to pay for the tariff. Weldbond remains an excellent glue for dry, indoor mosaics using the direct method.
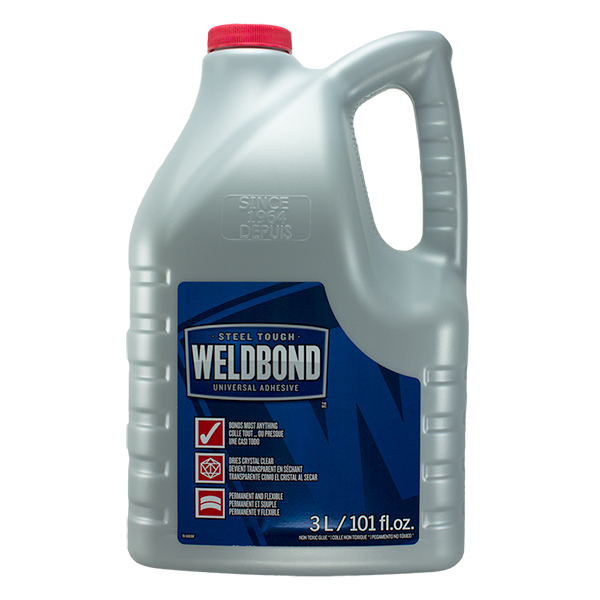
The 3-Liter (0.79 gallon) jug of Weldbond Mosaic Adhesive is an economical way to refill your small working bottles and save money. Instead of buying small bottles for each person in your class or work group, pour a little bit from the jug into Styrofoam plates and have your artists dip tile in the plates. Use a second plate inverted to cover the glue and maximize working time. Note that the gallon jug and half-gallon jugs have been discontinued by the manufacturer.
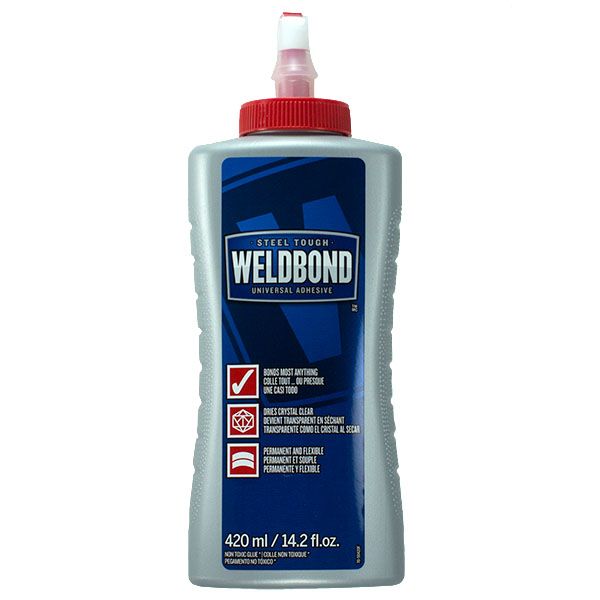
Weldbond Adhesive is an extremely versatile glue that can be used to securely bond a wide range of art materials including glass, natural-fiber fabrics and wood. Weldbond is strong, even at low temperatures, but LIQUID Weldbond will ruin if allowed to freeze. DO NOT ORDER DURING HARD FREEZES OR STORE OUTDOORS.
Weldbond Glue Mosaic Adhesive 3 Liter
Weldbond is an amazing product:
- clear drying
- strong bonding
- non-toxic.
- non-flammable
- no volatile fumes. less than 1% VOCs by weight.
- water-resistant once fully cured
- easy clean-up with soap and water
- can be added to grouts to improve strength and fracture toughness
Product Specifications
Read the manufacturer’s specifications and instructions here.
Weldbond Glue is a white PVA (Poly Vinyl Acetate) adhesive that dries clear. It does not contain formaldehyde, latex, phthalates, aromatic solvents or halogenated solvents (as do many adhesives). It is non-toxic and conforms to ASTM D4236.
Product Coverage
The 3L (0.79 gallon) jug of Weldbond covers an average area of 200 square feet. Actual coverage is about 20% less than that for most users doing detailed work, but messy users or coarsely porous substrates could require significantly more glue. The coverage is greatly affected by how neatly you work, how dry your working conditions are, etc. For example, if the heat is running at the height of winter, then water-based glues can skin over rapidly, and you tend to waste a little bit as it dries on your fingertips and tools.
Use In Mosaic Art
We use Weldbond Glue for presealing wooden surfaces before mosaic work, and we will sometimes dilute it with as much as 1 part water to 2 parts glue. For attaching the tiles in detailed mosaic work, the thicker material provided by straight Weldbond is better.
Why Not Use Other Brands?
There are other brands of white PVA adhesives on the market. The reason that Weldbond is strongly preferred by many mosaic artists is simple:
- Detailed mosaic work requires that small tiles be positioned carefully.
- This is often difficult to do this without bumping other small tiles already in place.
- The thicker the glue, the less the tiles move when bumped.
In other words, Weldbond is “best” because it can take a lot of the frustration out of the work. There are also several other reasons why we think Weldbond might be more durable in adverse conditions.
Limitations
Dry Indoor Use
Weldbond is water-resistant when fully cured, but it does soften when soaked in water over time, so use good judgment. Mosaics in wet locations such as pools and fountains and patios should be made with thinset mortar (a type of sticky concrete) instead of adhesive.
Other Limitations
Weldbond does not bond to some types of plastic, rubber and cast metals. Avoid using on polyethylene, polypropylene, vinyl and PVC. Do not use Weldbond on containers that may hold hot liquids.
How To Make Mosaic Art
For more advice on designing your mosaic project or mounting, cutting, and grouting tile, please see our page of Mosaic Frequently Asked Questions or our Mosaic Information Guide, which lists instructional pages described by topic. We also post new articles about making mosaics at our How to Mosaic Blog.

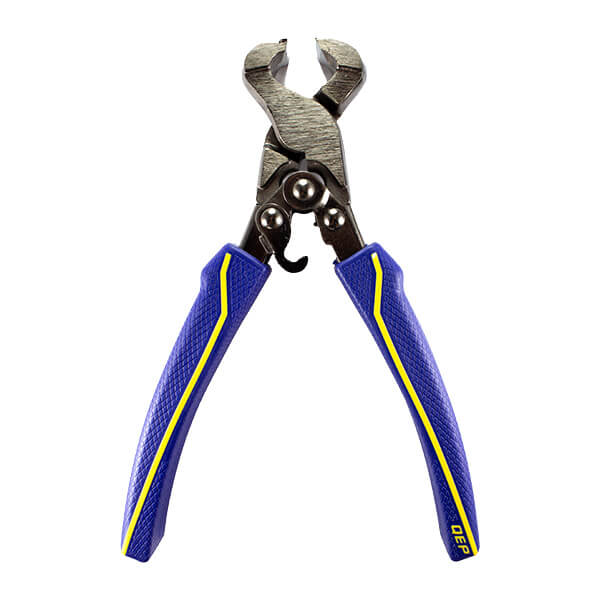 The Compound Nipper is our recommended tool for cutting extremely hard tile such as thick dinnerware, porcelain and certain varieties of stone. This nipper has a compound lever mechanism which multiplies the mechanical force of your hand three times more than conventional tile nippers, which enables you to cut harder materials with much less effort.
The nipper should not be used for glass tile because it crushes and splinters more glass than it cuts. For cutting glass mosaic tile, you should use the
The Compound Nipper is our recommended tool for cutting extremely hard tile such as thick dinnerware, porcelain and certain varieties of stone. This nipper has a compound lever mechanism which multiplies the mechanical force of your hand three times more than conventional tile nippers, which enables you to cut harder materials with much less effort.
The nipper should not be used for glass tile because it crushes and splinters more glass than it cuts. For cutting glass mosaic tile, you should use the