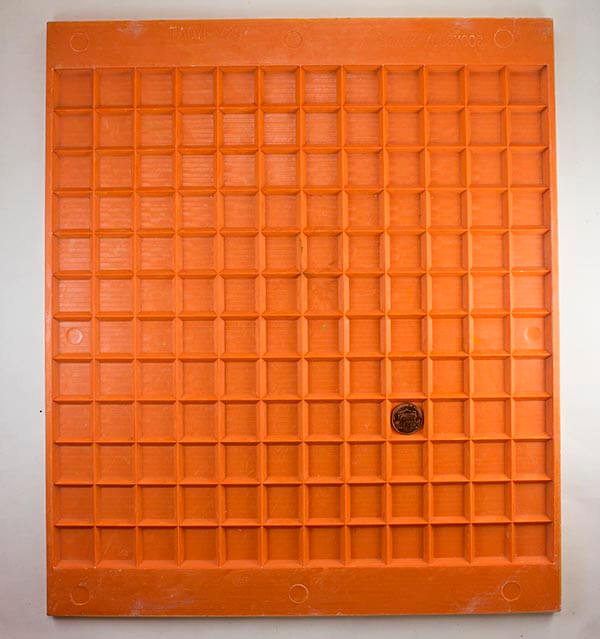
Mounting Grid for 22mm (~7/8 inch) Stained Glass Tile is for temporarily mounting patterns of uncut tile to paper for rapid installation using the indirect method. These are not needed for most projects. Most artists use cut tiles or glue each tile directly on the surface they are covering and do not need grids.
These grids come directly from the factory and show various signs of use. They were made by machining blocks of plastic instead of pressed in a mold, so they look home made to be brutally honest, but they work.
The grid mounts 144 of our 7/8-Inch Stained Glass Tiles on 1 square foot of mosaic mounting paper in a uniform grid of 12 x 12 tiles with a grout gap of approximately 1/16 inch.
Note that these grids were made for 25mm beveled tile, but they work with 22mm (~7/8 inch) tiles with straight (non-beveled) edges. We decided that the grout gap was too small when used with 25mm tile.
Note that the paper we sell is 1.15 square foot, which is larger than these grids but should not pose any problems. (You can always trim away the excess paper after you mount the tiles.)
Mosaic Tile Mounting Grid 22mm
- grid size: 12 tiles x 12 tiles.
- grid area: 30cm x 30cm (just under 1 square foot).
- grout gap: approximately 1/16 inch.
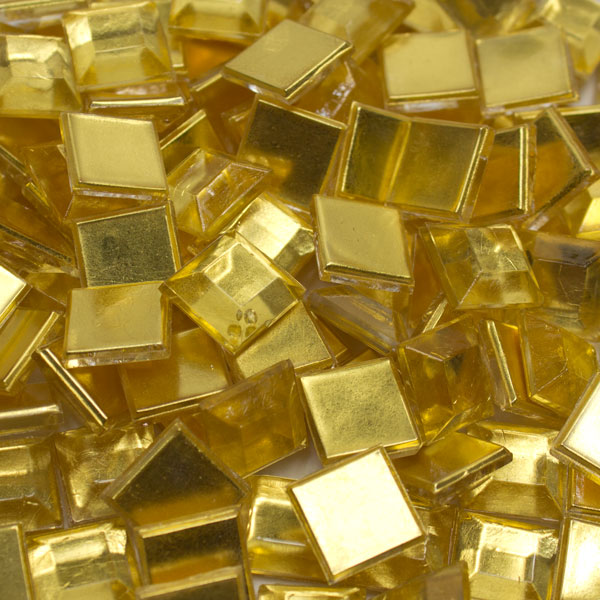
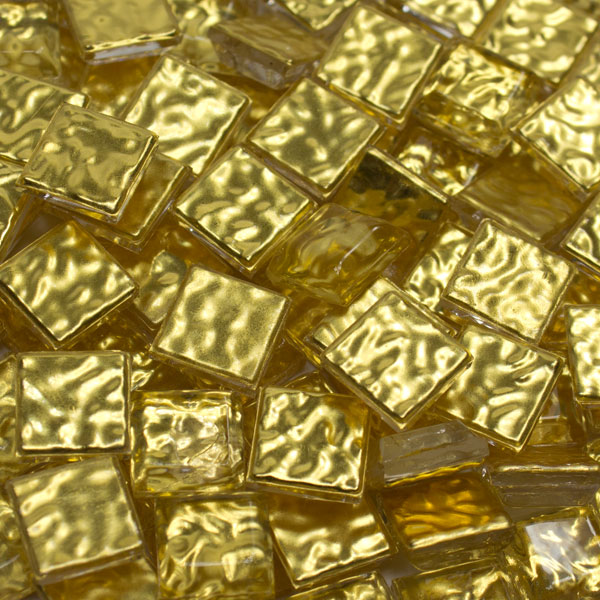
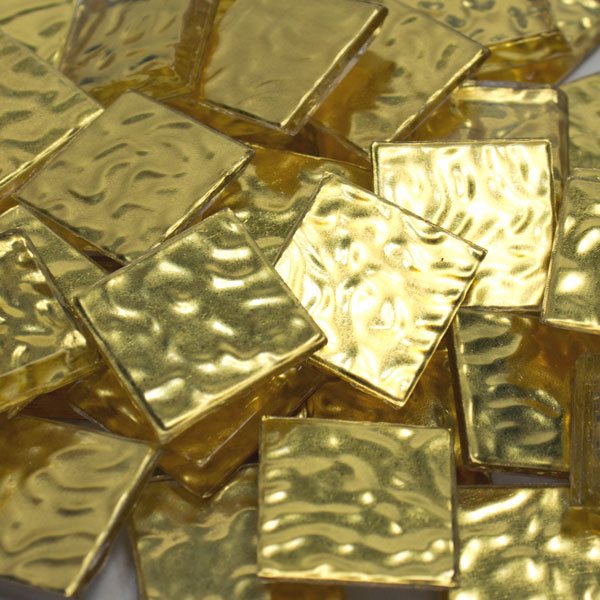
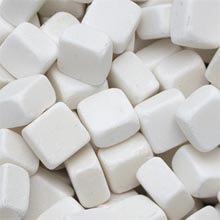
- tile size: 22mm (~7/8 inch).
Indirect Method
Mosaic tile can be glued one at a time DIRECTLY to a surface, or you can lay your mosaic out on a temporary surface in what is called the “Indirect Method.” Temporary surfaces can include things like fiberglass mesh, paper, adhesive contact paper or trays filled with lime putty. Our grids were made to work with self-adhesive mounting tape or mounting paper that is glued to the faces of the tiles.
Why Use The Indirect Method
Why would you want to use the Indirect Method? It is easier to lay up your mosaic design at your work table than it is to lay it out on a floor or vertical wall. Also, you can work for days or weeks at your work table laying up the mosaic without tying up the location where the mosaic will actually be installed. Again, none of this is necessary for a beginner laying up a small craft project like a trivet or a mosaic mirror.
Use In Mosaic Art
The following is how to do the indirect method using our grids and mounting paper:
- Place glass mosaic tile into the grid face up, filling up the grid with your design.
- Dilute water-soluble glue such as Elmer’s Glue with 3 parts water to 1 part glue.
- Paint the water soluble glue onto the mounting paper using a small artists paint brush. Use a light coat to avoid wrinkling the paper.
- Lay mounting paper onto the face of the tile, careful to avoid wrinkles.
- Allow sheet to dry completely and remove from the grid.
- Spread thinset mortar or mosaic adhesive on the surface to be mosaiced.
- “Butter” the bottom of the sheet of tile with the same mortar or adhesive. Of coarse, you butter the bare glass bottoms of the tile, not the paper.
- Press the sheet of tiles into the adhesive-covered surface with the PAPER ON THE OUTSIDE.
- Allow the thinset or adhesive to cure for 24 hours.
- Mist the paper until it is soaked and peel it off the tiles.
- Grout the mosaic.
How To Make Mosaics
For more advice on designing your mosaic project or cutting and grouting tile, please see our Mosaic Frequently Asked Questions page or our How To Mosaic blog or our Mosaic Information Guide.
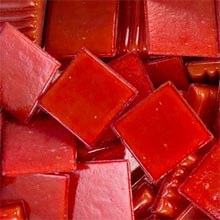


 Red
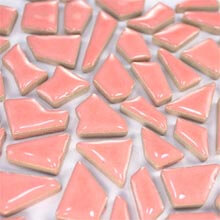
Red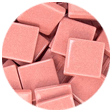 Pink
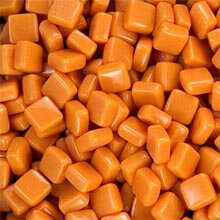
Pink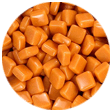 Orange
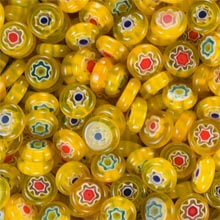
 Yellow
 Green
Green Teal
Teal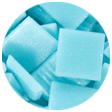 Cyan
Cyan Blue
Blue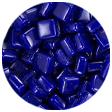 Ultramarine
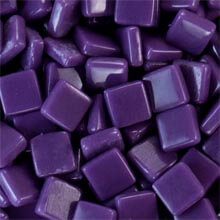
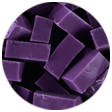 Purple
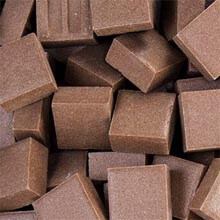
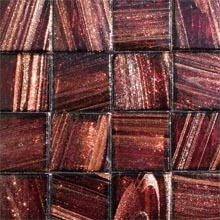
 Brown
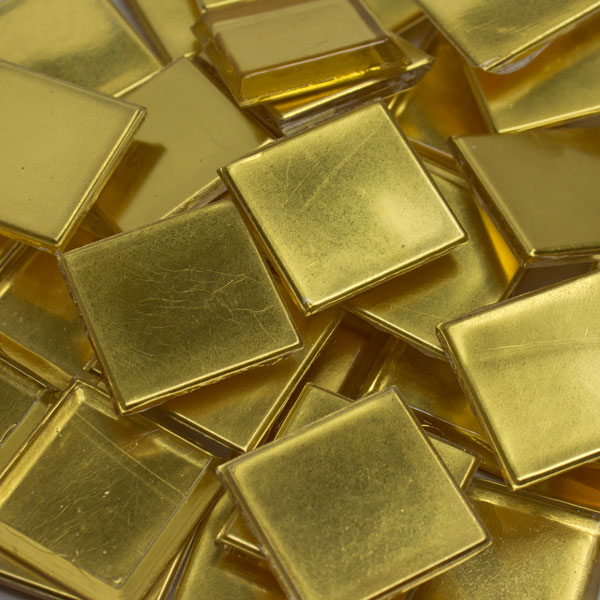
Brown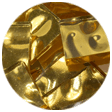 Imitation Gold
 24K Gold
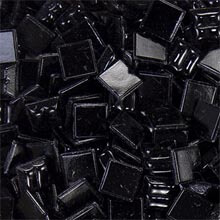
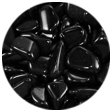 Black
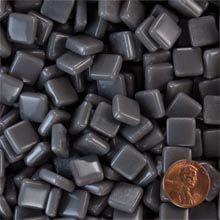
Black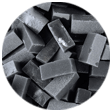 Grey
Grey White
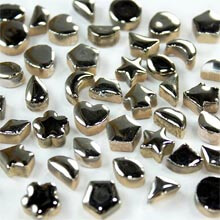
White Metallic
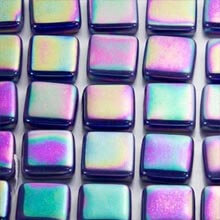
 Iridescent
 Mirror
 Assortments