
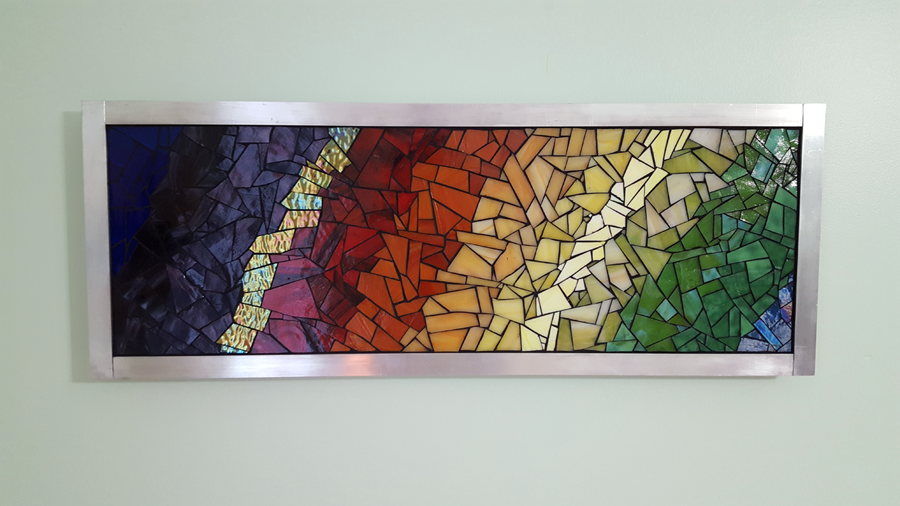
Most mosaic wall art can be mounted on a wall with a simple hangar and wire. However, larger mosaics will need more robust mounting hardware. The “french cleat” is a type of wall moulding that can be used to securely affix heavy mirrors, cabinets or artwork to a wall. In addition to its strength, the french cleat also allows mosaic art to be mounted flush against the wall and makes leveling it easy.
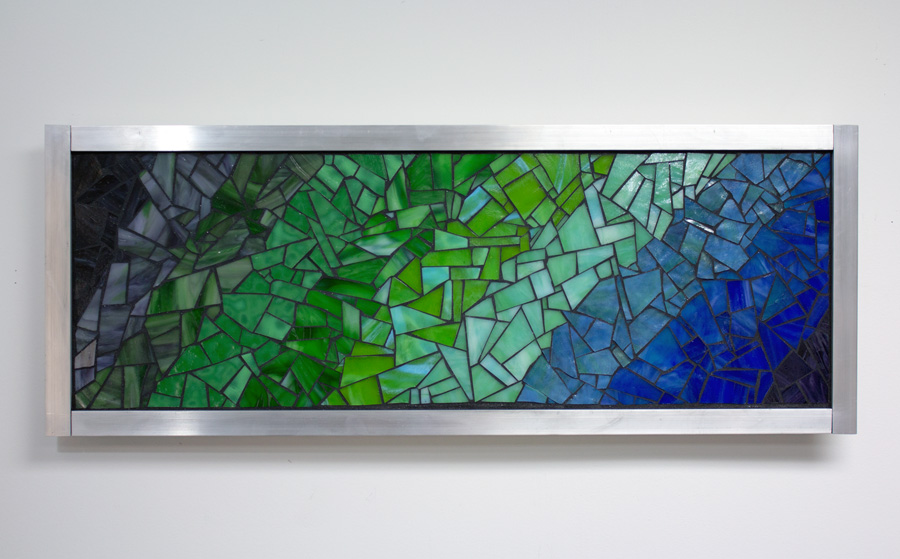
If you built a frame on the back of your mosaic as described in this tutorial, then french cleat moulding is a good hanging option.
Preparations and Safety
To make french cleat wall mounts you need a table saw, screwdriver, screws, and a drill. A level and ruler are needed to position the mosaic art properly on the wall. You also want a stud finder.
Proper personal protection equipment (PPE) should be worn when using power tools. Table saws are extremely dangerous, wear a dust mask, safety glasses, and hearing protection when using the table saw. Always have someone help you when using a table saw. Safety glasses and gloves should be worn when using the drill.
If you don’t have much experience with a table saw, don’t try to learn on this project. Instead, you probably know somebody who is a carpenter or who does woodworking in their spare time. Ask them for help, if you tell them it’s for a mosaic art project they will probably think that’s really cool and offer to make the pieces for you, saving you time and preventing any risks. This tutorial is intended for artists who are already familiar with table saws, and who are looking for a solid way to wall-mount a mosaic.
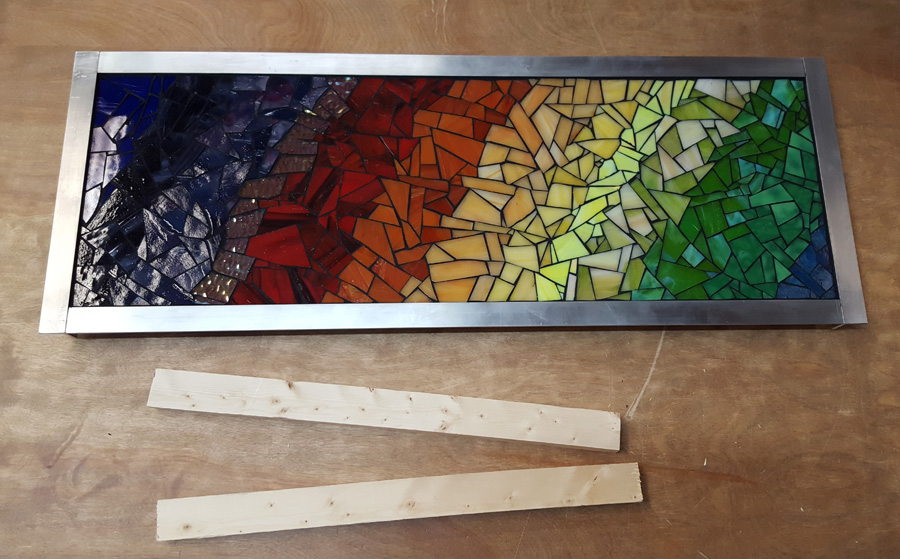
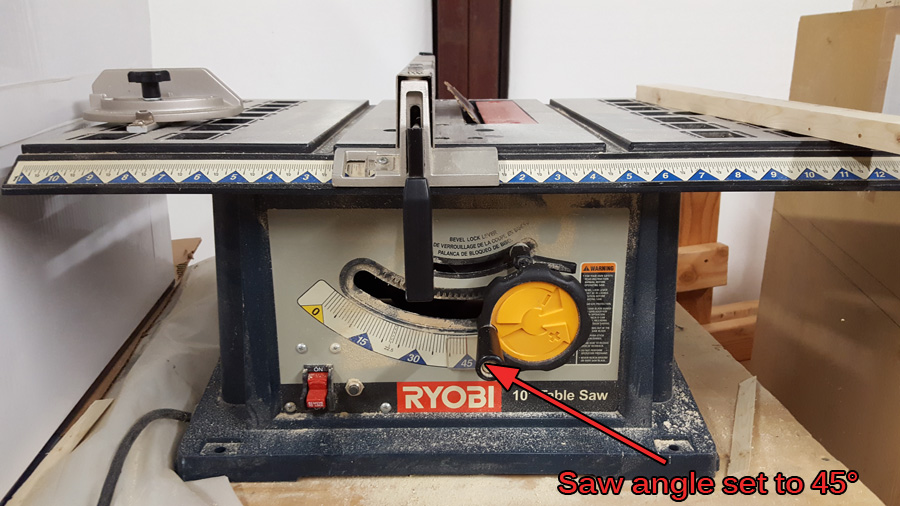
The two pieces of wood shown above are scraps from when the wood backing was built onto the above mosaic. Cut a corner off of each piece of wood using a 45° angle with the table saw.
Install the French Cleat Moulding
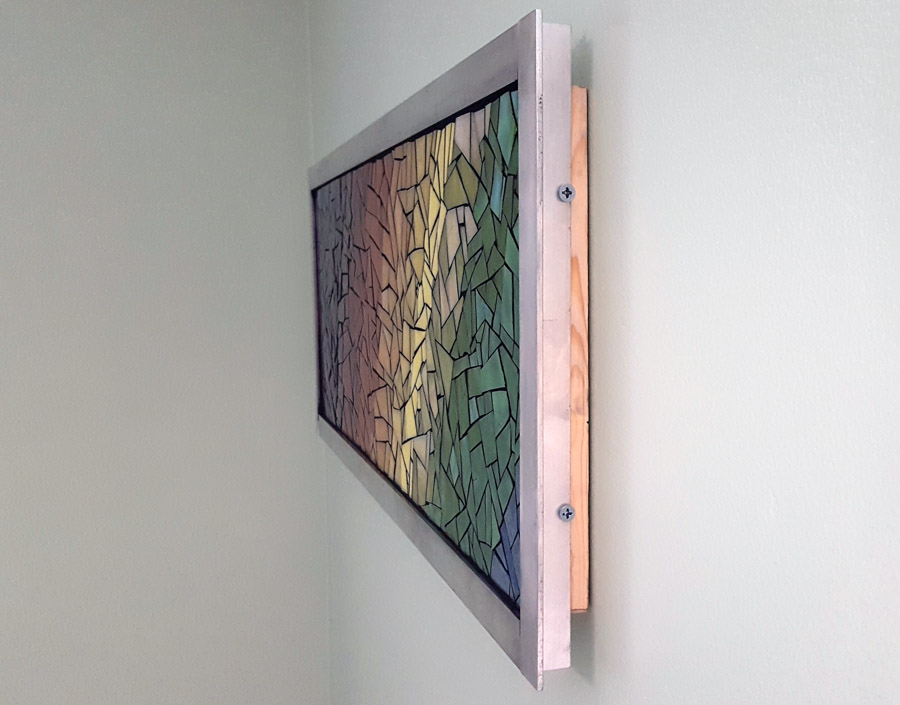
The proper way to affix the moulding is one piece on the wall with the angled side facing up and one piece on the mosaic with the angled side facing down.
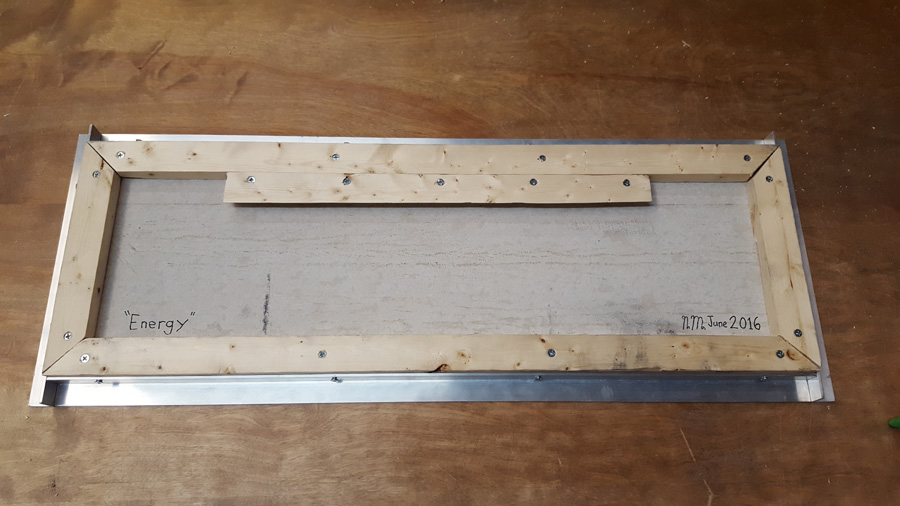
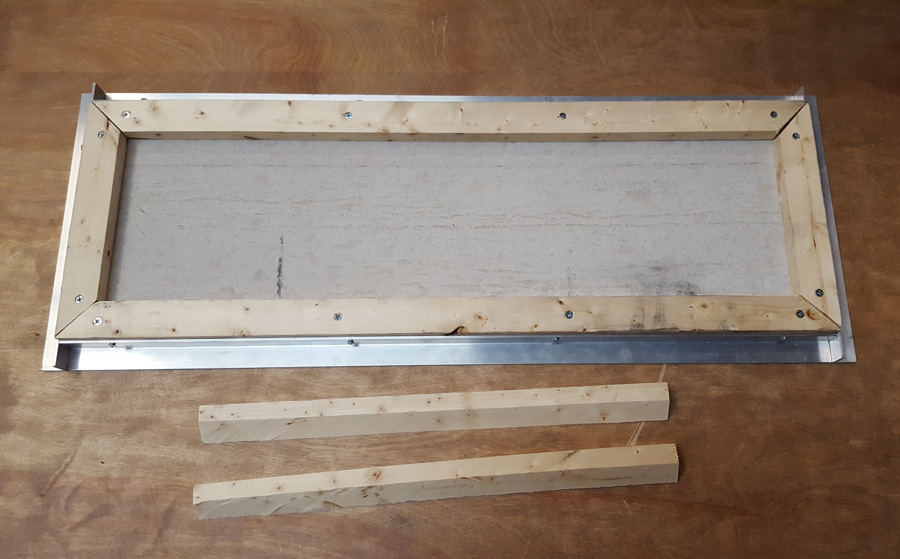
You can see above the moulding for the mosaic is installed inside the wooden frame. It is placed evenly between the left and right, and flush against the upper frame piece. Another option is to use a wider upper frame piece and cut the corner off of that before making the mitre cuts. That way you only have to do it once.
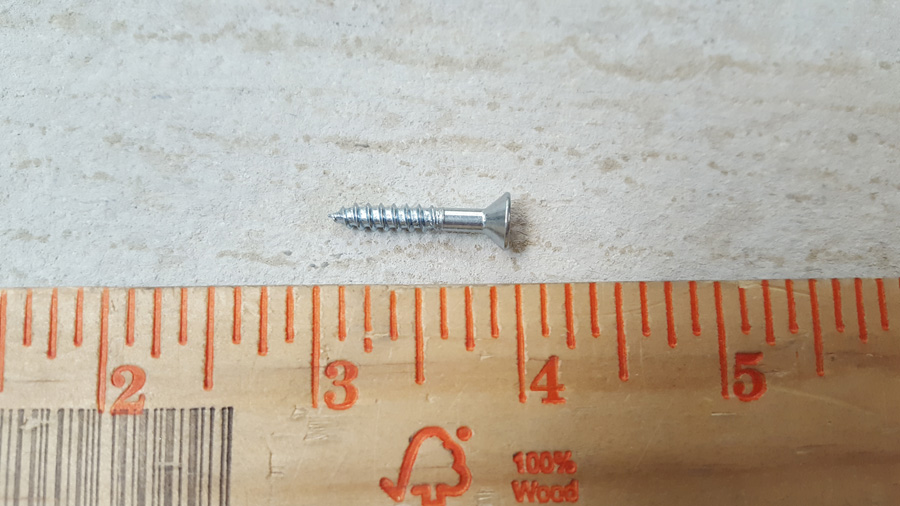
Use the same screws for the frame’s french cleat moulding as were used for the frame itself. Don’t use deeper screws because you could puncture the mosaic’s surface.
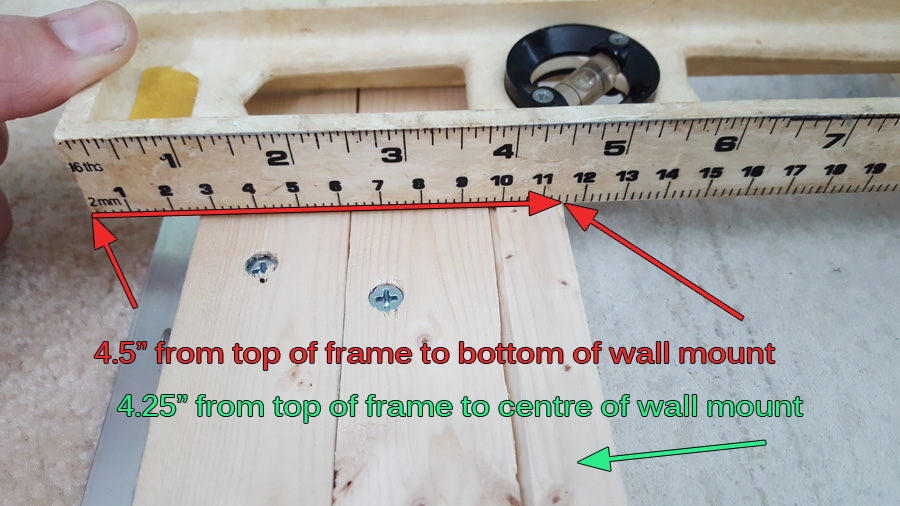
Once you have the mosaic’s piece installed figure out where on the wall you want the mosaic. Then you’ll need to figure out the vertical offset for the wall piece. In the above example, you can see that the top of the frame is 4.25″ away from the middle of the moulding when it is slid into the mosaic. That means that the screws need to go 4.25″ below the desired height of the top of the mosaic on the wall.
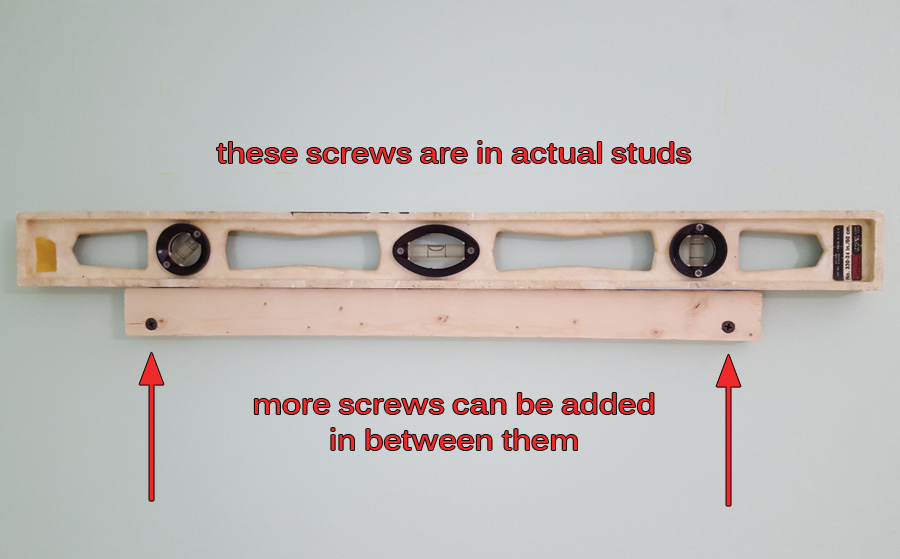
Use a stud finder to locate one or two studs. Lighter mosaics can be affixed to the drywall, but for heavy projects like this it’s good to use the studs themselves and long screws into them. There aren’t any pictures, but after putting this into the wall I added a couple extra screws to the middle of the wood that just went into the drywall. Also, notice the level; make sure things are lined up nicely before permanently attaching the wood to the wall. Once you’ve gotten this far you’re ready to hang the mosaic.
This mosaic is now secure in place, flush against the wall, and level. For extra tall mosaics hung in this fashion you can add an extra bracket at the bottom with a couple screws hidden behind the frame (if it has one) to prevent the mosaic from falling off the french cleat if it gets bumped by someone.