
This glass came to us much too transparent for use in most mosaics, so we are putting it on clearance. Our loss, your gain!
Read details concerning our stained glass products below, but keep in mind that this stained glass is almost completely transparent.
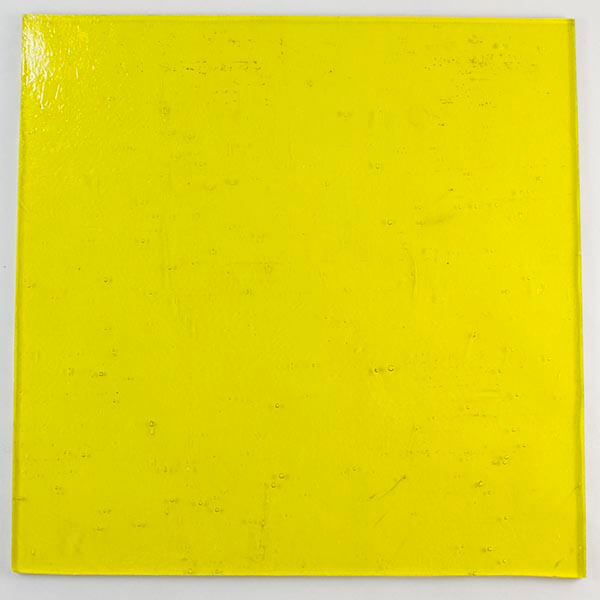
Stained Glass Sheet 6-Inch
- STAINED GLASS VARIES IN COLOR AND PATTERN BY SHEET. Do not order if you cannot tolerate variation.
- Price is for one sheet of stained glass nominally 6 inch x 6 inch
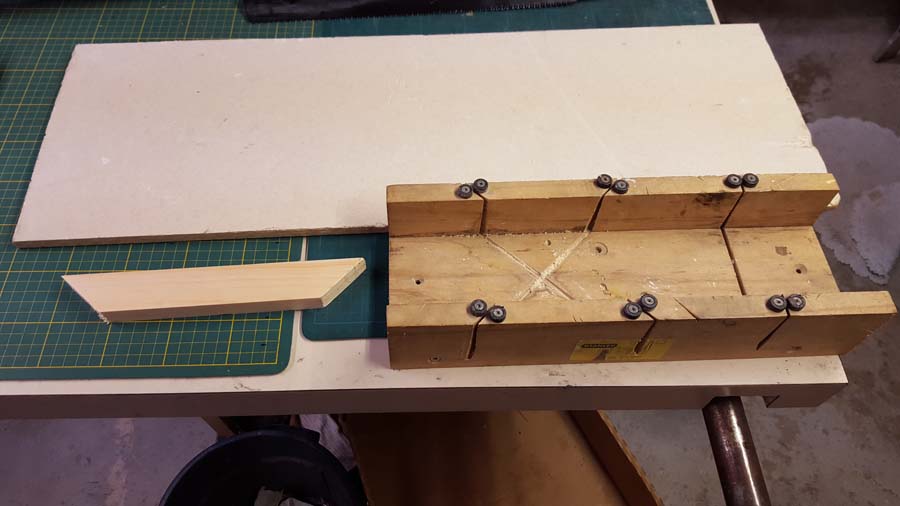
- Sheets are cut by hand using a straight edge and are not always perfectly square.
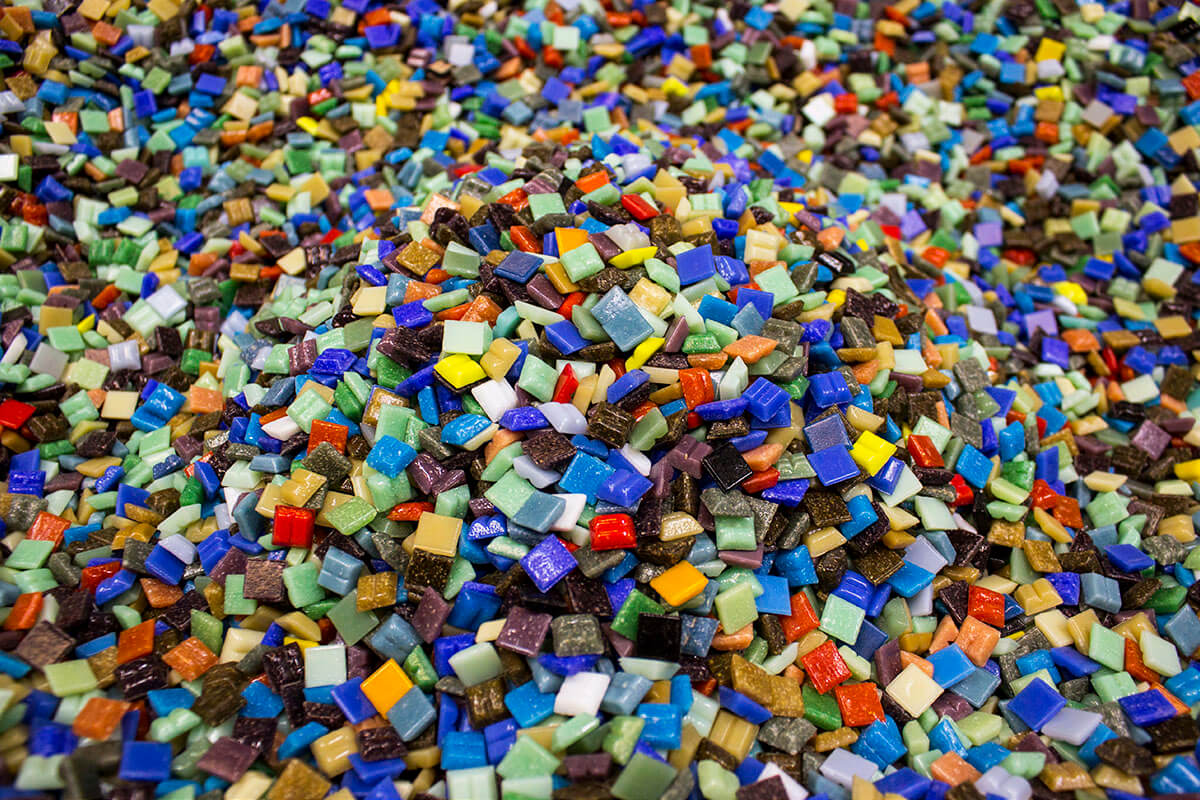
- Sheets are cutting stock for making small mosaic tile and are not sold as finished mosaic tile.
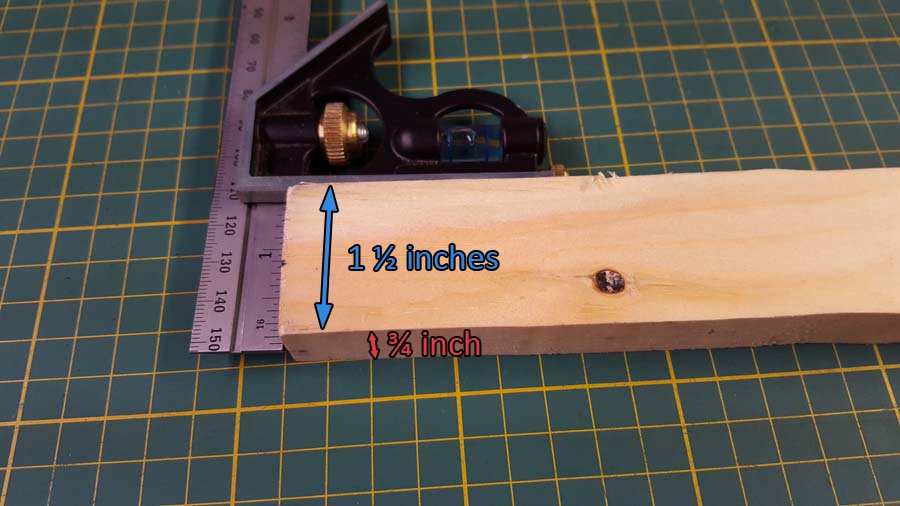
- Thickness: nominally 1/8 inch with variation usually around +/- 1/32 inch.
- Pigments: colorfast metal oxide.
- Coverage: 1 sheet covers approximately 1/4 square feet.
- Cuts relatively easily with Mosaic Glass Cutters.
- frost proof
- impervious to liquids
- Suitable for indoor and outdoor installation.
- NOT suitable for floors. More fragile than glass tile.
Product Coverage
Each sheet covers approximately 1/4 square feet when uncut. When you cut it up, you will gain additional coverage from the grout gap, but you will also lose some coverage in the form of cutting waste.
Compatibility
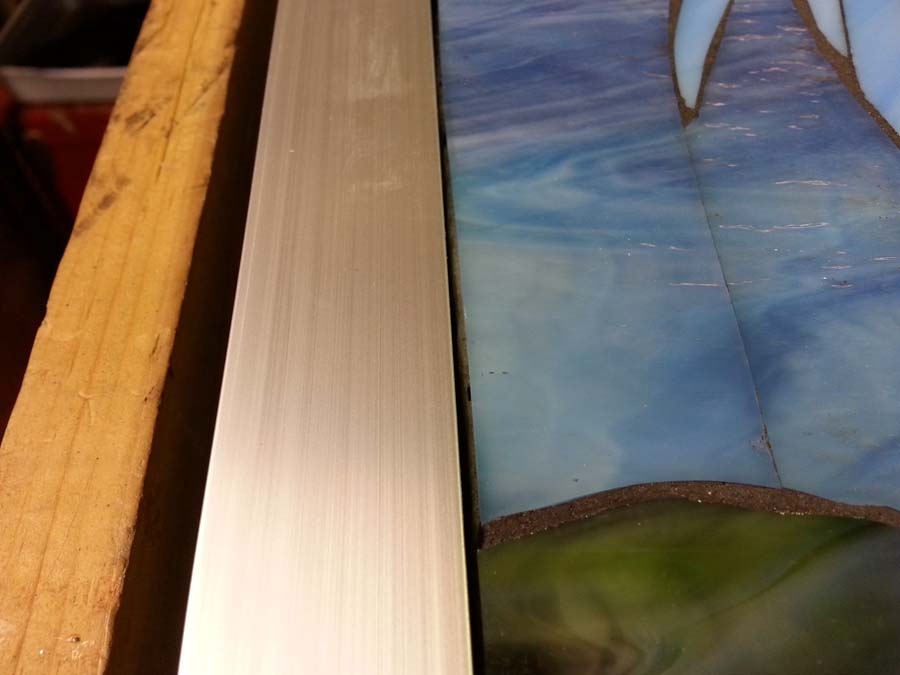
Tile thickness is approximately 1/8 inch, which is NOMINALLY the same as most of the glass mosaic tile we sell, but stained glass tends to run a little bit thinner than the vitreous and is more variable in thickness. That being said, mixed-media mosaics and even mosaic table tops are routinely made from dissimilar materials with even greater differences in thickness.
Cutting Tile
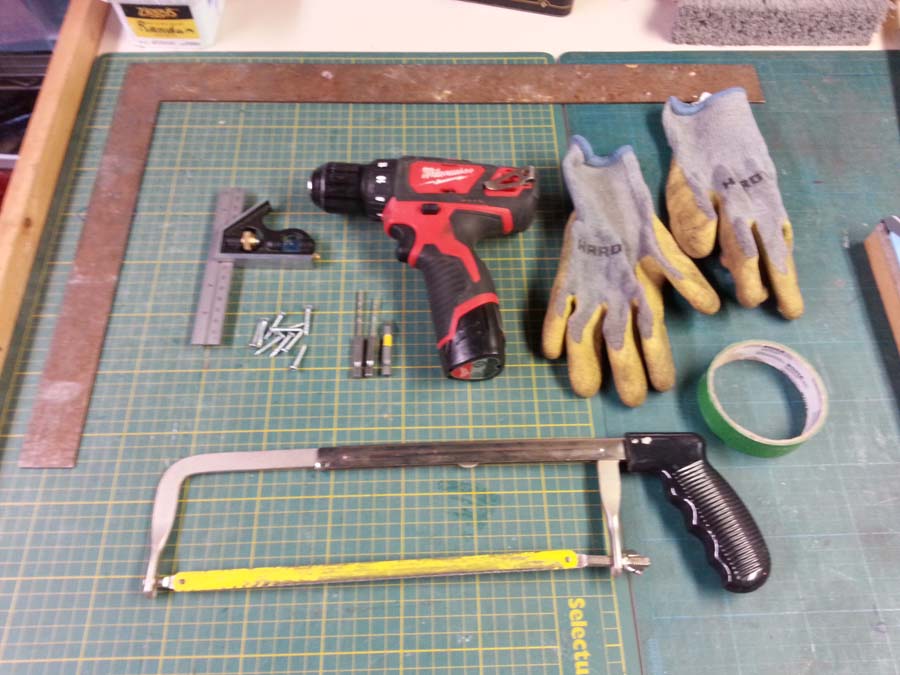
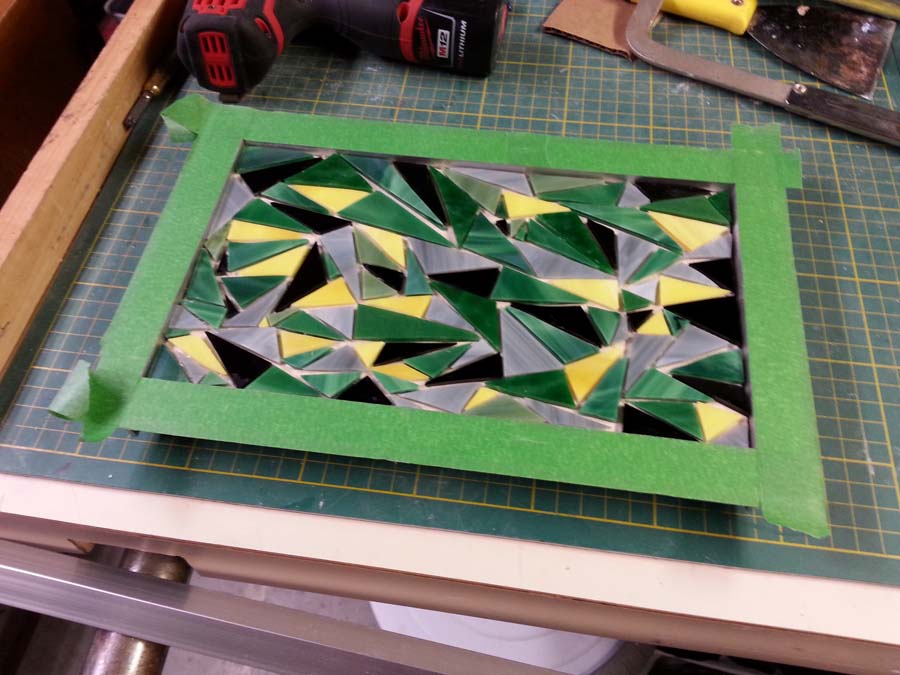
Stained glass and glass tile can be cut quickly with minimal force using our Mosaic Glass Cutters, and that is the tool we use in our studio to cut irregular rectangle and triangle shapes for use in our mosaics. For long straight cuts and curved cuts, the Pistol-Grip Cutter should be used to score the glass, and a pair of Running Pliers should be used to snap it.
Use In Mosaic Art
Stained Glass is non-porous and can be used outdoors, but we don’t recommend it for flooring. We don’t recommend buying these sheets for use as 6 inch tile either. The sheets are cut by hand using a straight edge, and so there is variation in size and the straightness of the cut. We sell the sheet as material for cutting into small mosaic tiles, not as a single finished tile.
Stained glass is made for use in decorative windows and not as tiling. We have thought long and hard about what the safety and usage implications are of using stained glass for tile, and there is one issue that seems particularly important: If a mosaic becomes damaged where there is sharp broken broken glass mounted to a surface where it could cut someone, then use the fine edge of a marble file to smooth the edge until you can replace the tile. This also applies to mosaics made with molded tile.
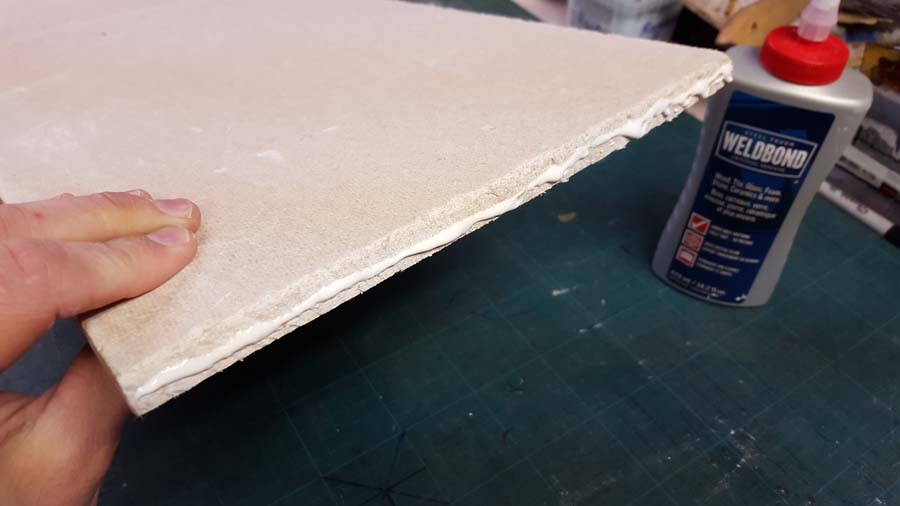
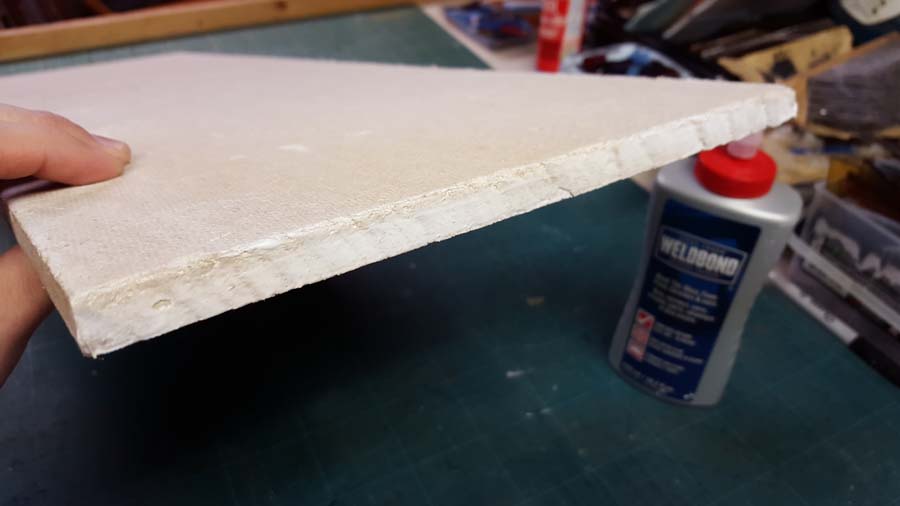
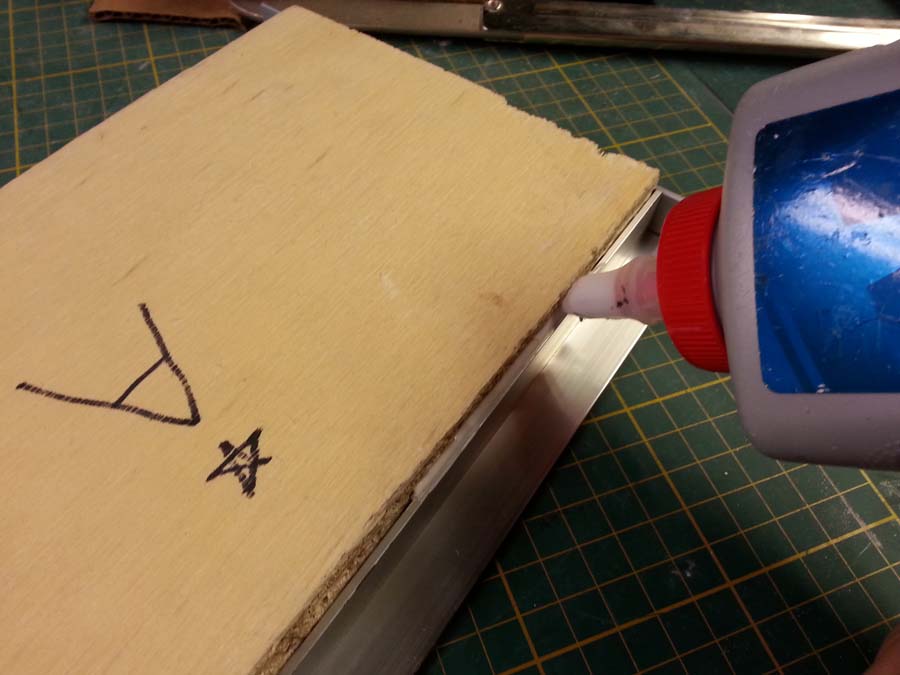
For dry indoor mosaics, stained glass can be mounted using Weldbond adhesive, but thinset mortar should be used for outdoor and wet mosaics. In either case, stained glass should be rinsed with detergent to remove any traces of cutting oil.
Rendering With Tiles
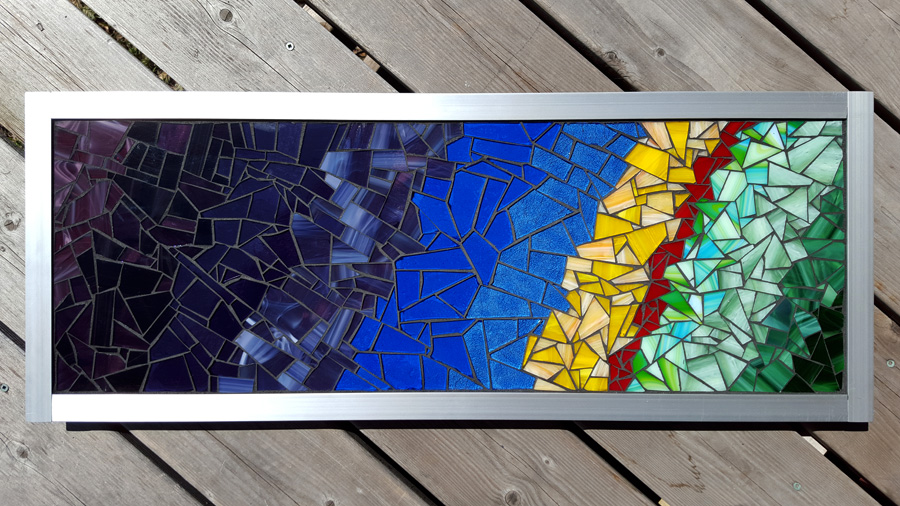
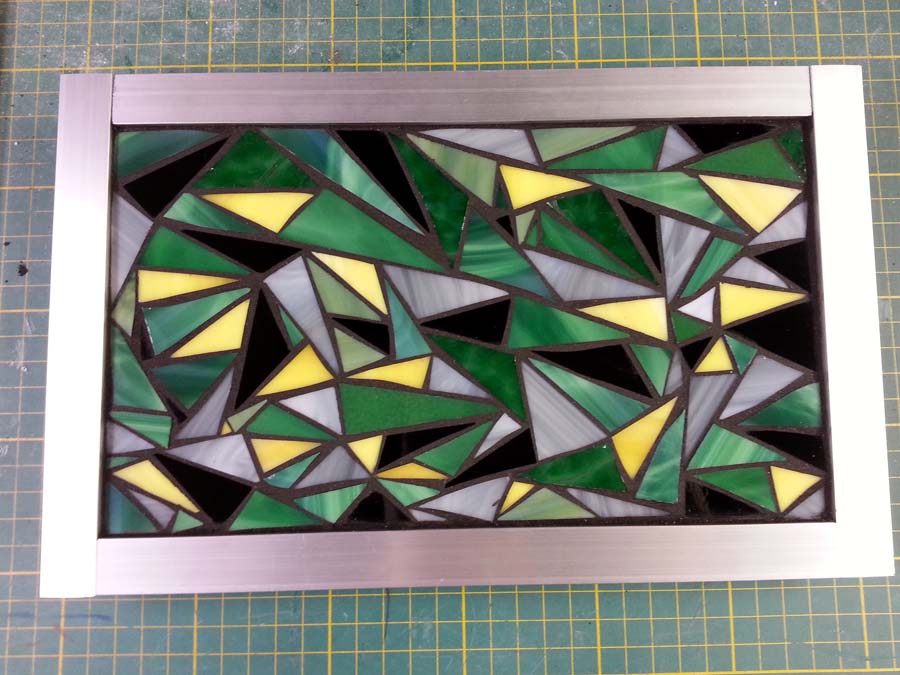
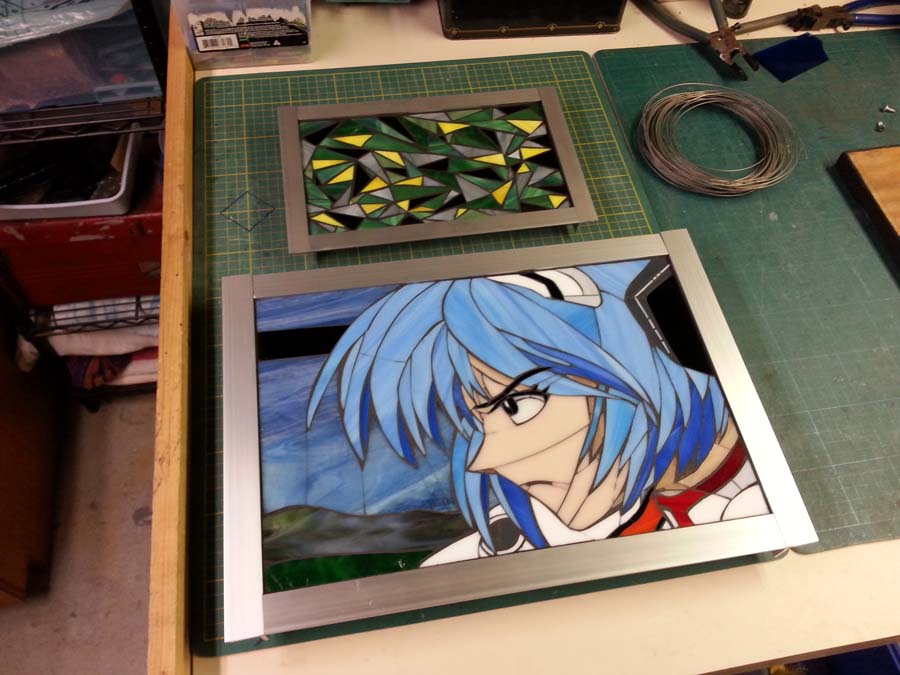
Stained glass art often makes use of custom-cut pieces that define entire figures or components. In mosaic art, the approach is different: figures and components are almost always built up from multiple tiles unless the object in question is particularly small. These two modes of rendering images are different aesthetically, and they aren’t compatible. From the years of customer artwork that we have reviewed, we have noticed that it is best to stick to one approach or the other for a particular piece of art and not combine them. Think of it this way: If most of your mosaic is made from individual tiles where no individual tile is a hand or face or tree, it can look strange to have one individual hand, face, or tree that is all one piece cut from a sheet of stained glass.
Smoothing Sharp Edges
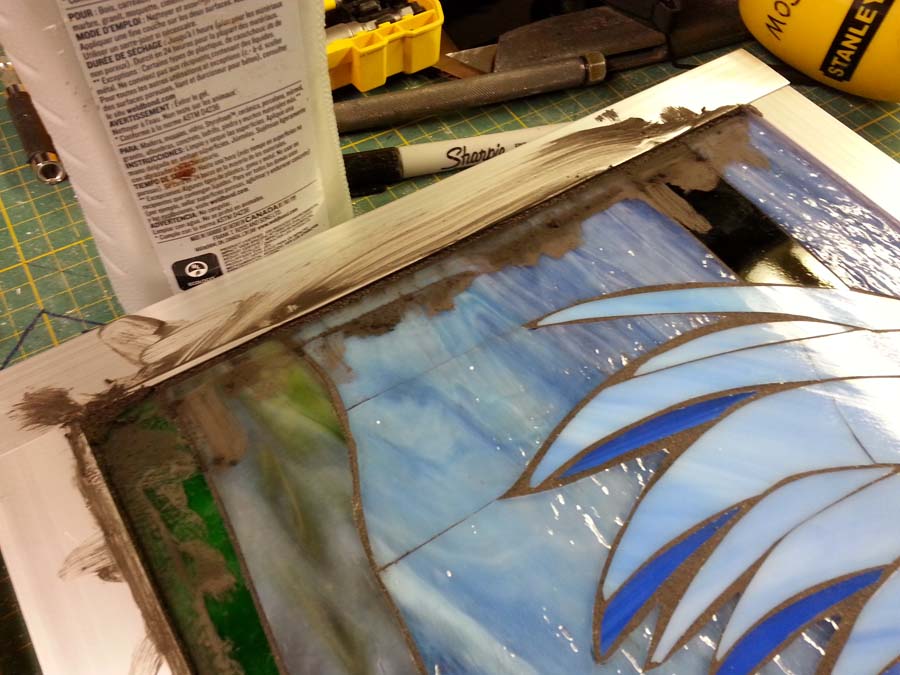
Stained glass often has sharper edges than molded glass mosaic tile when cut. At our studio, we use the fine edge of a marble file or a rubbing stone to knock off any razor edges remaining after cutting.
American Made
Our stained glass is made in America by several manufacturers (Armstrong, Kokomo, Spectrum and Wissmach) and is some of the most beautiful art glass made anywhere in the world, including Italy. Here is a great opportunity to buy American-made products and support high labor standards and high environmental standards. Furthermore, you can do it without sacrificing selection or quality, AND THE PRICE IS COMPETITIVE WITH THAT OF MOLDED GLASS TILE MADE IN CHINA.
How To Make Mosaic Art
For more advice on designing your mosaic project or mounting, cutting, and grouting tile, please see our page of Mosaic Frequently Asked Questions or our Mosaic Information Guide, which lists instructional pages described by topic. We also post new articles about making mosaics at our How to Mosaic Blog.


