If you order the 12″ tape roll you cannot check out with USPS Ground Advantage as your shipping method. USPS has been unreliable, so high-value items cannot be shipped with their cheapest shipping service, Ground Advantage.
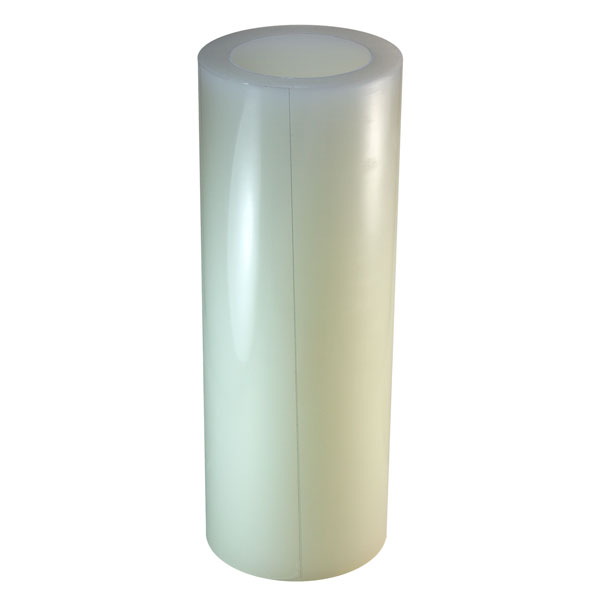
Mosaic Mounting Tape 12 inches x 108 feet is a transparent adhesive film used for face-mounting mosaic tile designs for rapid installation. The adhesive film bonds strongly enough to mosaic tile for the sheets to be handled and transported (including shipping), but it releases cleanly without residue. It is also water resistant. The tape is fully transparent so that patterns divided between multiple sheets can be aligned and grout joints matched. The tape comes in a continuous roll 108 feet long.
Mosaic Mounting Tape 12 inches
- transparent adhesive film in a roll
- 12 inches x 108 feet
- water resistant adhesive
- adhesive releases cleanly from all tile materials tested with no sticky residue.
Product Usage
Unlike fiberglass mesh, Mounting Tape sticks to the front FACES of the tile, which leaves the backs fully exposed for bonding with mortar or adhesives, thus increasing the strength and longevity of outdoor and wet mosaics. Mosaic designs can be laid out in a mosaic mounting grid, and then tape is pressed to the faces of the tiles, and the mosaic is lifted out of the grid for mounting.
If you aren't using a tile mounting grid and are laying out tiles or pieces of tiles on top of a paper pattern, we recommend tacking clear contact paper sticky-side-up over the pattern. This moderate stickiness keeps the tiles from moving around as you lay them out. When you are finished placing the tiles, you press the tape on top of the mosaic and rub it gently to ensure adequate adhesion. Then you can cut the mosaic into sections (typically 1 ft x 1 ft), but the sections can be irregular in shape if needed, and the cuts can zig zag around tiles.
Another method of using the tape is to not use contact paper and place the tape itself over the pattern with the sticky side up, and then stick the tiles face down onto the tape. This "reverse method" reverses the pattern from left to right when the taped mosaic is taken off the pattern and flipped over, and so most people avoid it and use contact paper as a temporary surface over the pattern as recommended above. A roll of clear contact paper from the grocery store is inexpensive and worth it.
When the sections of the mosaic on tape are pressed into mortar or glue, make sure that the gaps between sheets is the same width as the grout gaps used in the sheets and that the sheets are properly aligned. After the glue or mortar has hardened, the tape is removed by peeling it back and rolling it back.
More Information
For more advice on designing your mosaic project or cutting and grouting tile, please see our Mosaic Frequently Asked Questions or our List of How-to-Mosaic Pages, which are described by topic.