Illustrated Mosaic Instructions

How To Make A Mosaic

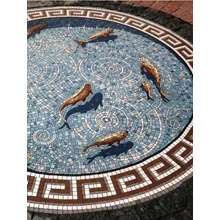
These instructions are for an indoor mosaic not subjected to excess moisture. The mosaic process is similar for outdoor mosaics (such as pools and fountains) but thinset mortar is used outdoors instead of Weldbond adhesive. For wet mosaics such as shower floors, you also need to use thinset. Thinset is a sticky concrete with polymers added for strength, adhesion and water resistance.

More information on outdoor mosaics, specialized topics and advanced mosaic methods can be found on our Outdoor Mosaic Guide.

Our FAQ page also contains additional mosaic instructions, tips on using thinset and answers to many specific mosaic questions. It is constantly being expanded and has solutions for many common mosaic problems. Also, here are some tips on how to avoid disasters while grouting.

For an indoor project not subjected to moisture, it is very simple:

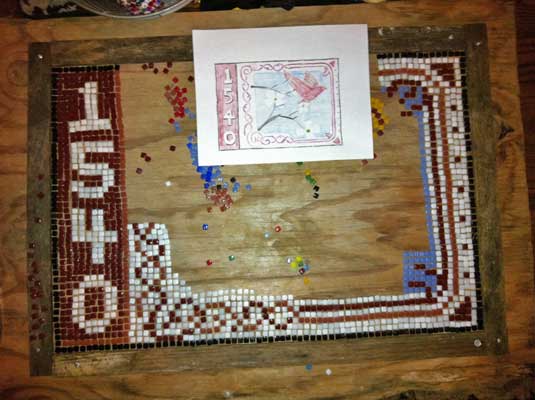
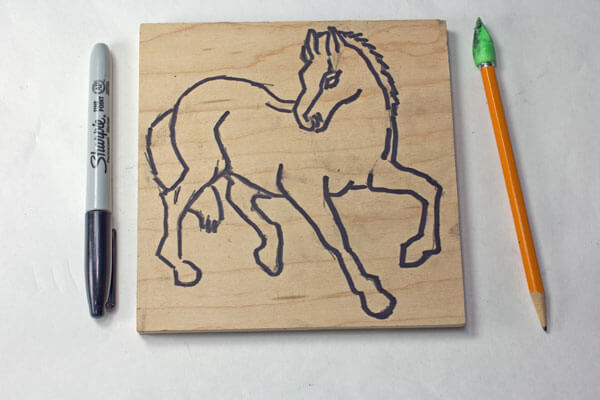
1. Draw a simple “cartoon” (outline) on the mosaic surface. You can copy a mosaic pattern from a coloring book or your favorite pattern of china or fabric. See our blog article on creating easy mosaic art patterns from photos and images.

The Mosaic pattern is transferred ready for tiling.
The Mosaic pattern is transferred ready for tiling. This is a dry indoor mosaic, and so the tile can be attached with Weldbond Adhesive. For outdoor and wet mosaics. aconcrete stepping stone or piece of flagstone could be used for a backer and the tiles mounted with thinset mortar.

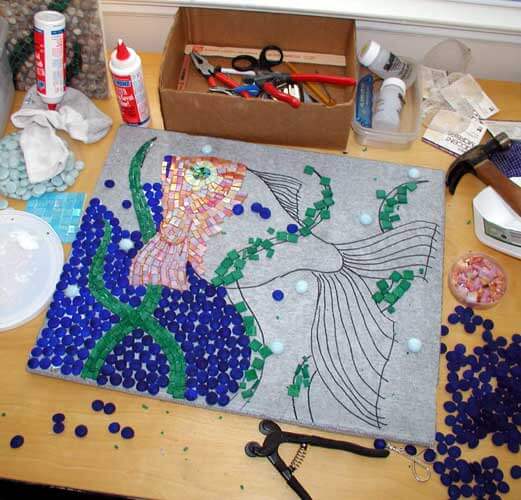
2. Decide what size mosaic tiles are most appropriate for the level of detail in the design (don’t use 1″ tiles to make details that are 1/2″). Lay a few tiles down just to make sure the colors look right together.

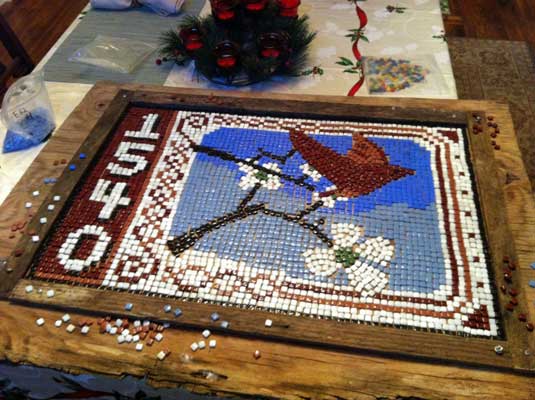
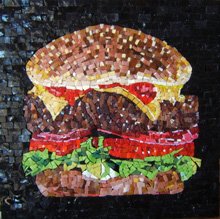
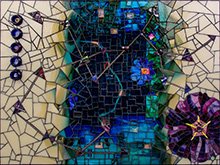
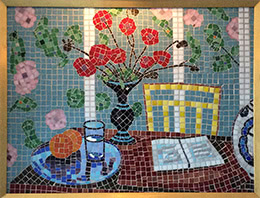
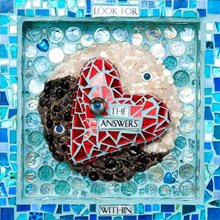
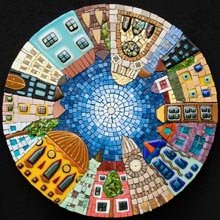
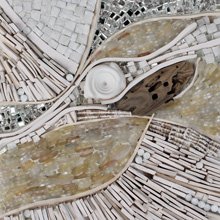
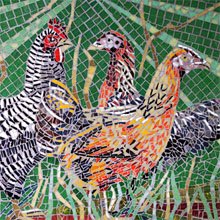
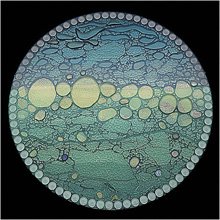
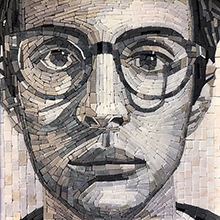
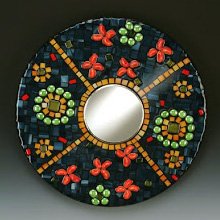
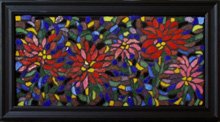
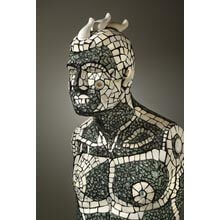
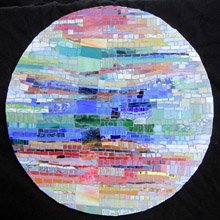
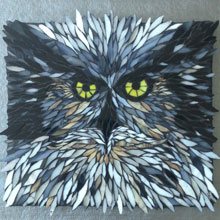
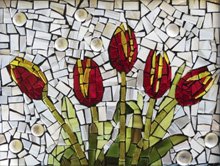
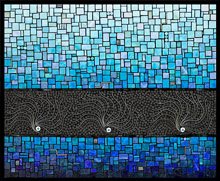
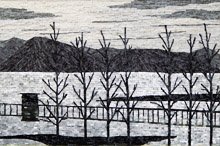
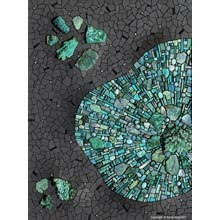
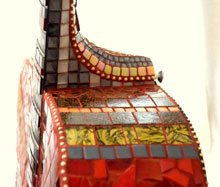
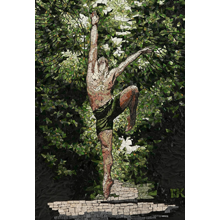
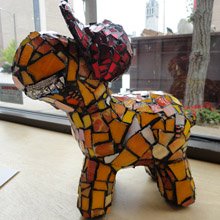
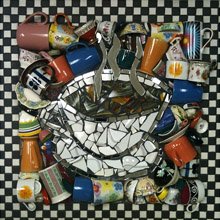
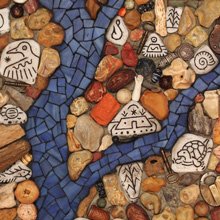
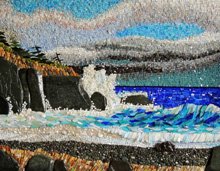
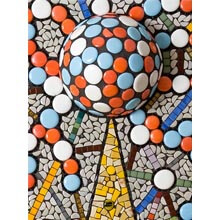
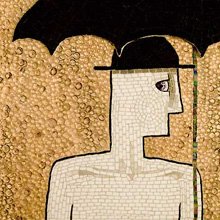
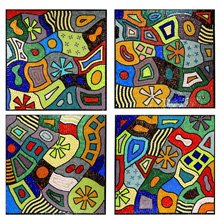
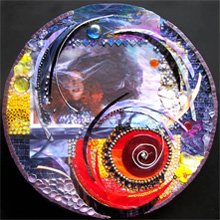
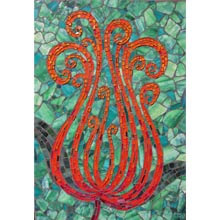
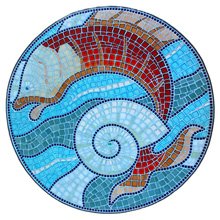
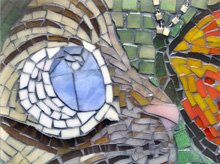
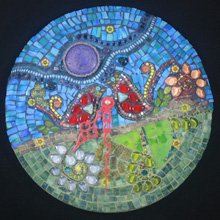
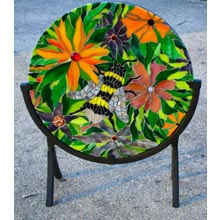
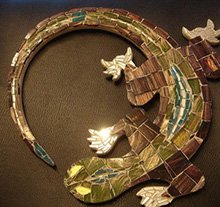
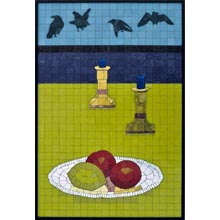
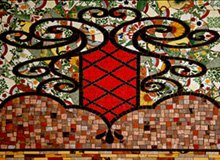
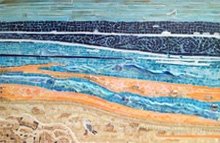
It’s better to take a loose, creative approach to picking colors and textures for your mosaic – a variety of surfaces and color often delights the eye more than even fields of color. Have a look at our Mosaic Artists Gallery for inspiration!

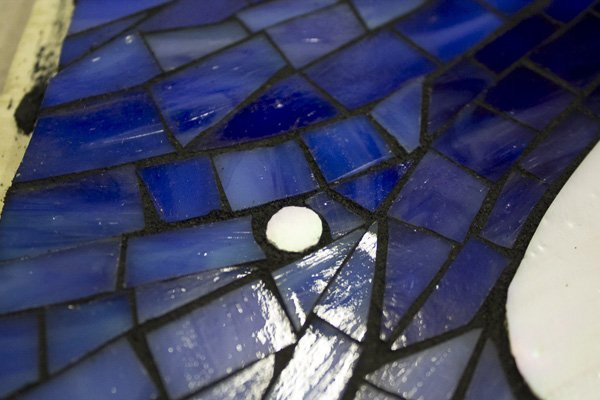
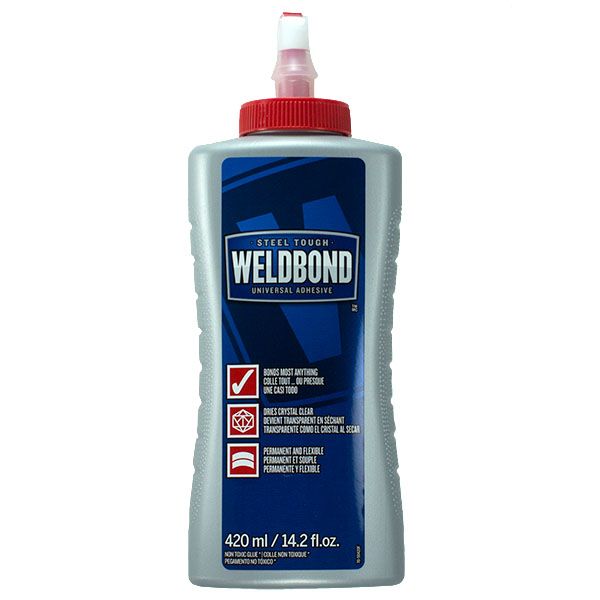
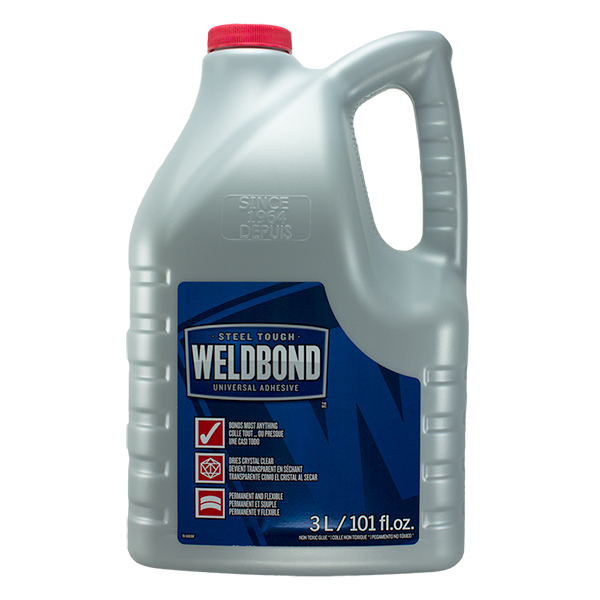
3. Glue the tiles to the surface one at a time. We recommend Weldbond Adhesive. Make sure the gaps between the tiles are about 1/8 inch or less.

We’ve extensively tested Weldbond, and consider it the most practical adhesive for indoor mosaic projects.

For outdoor projects, other considerations are required. See our comprehensive guide to outdoor mosaic for more details.

Work In Progress Goldfish Mosaic by Joe Moorman
Work In Progress Goldfish Mosaic

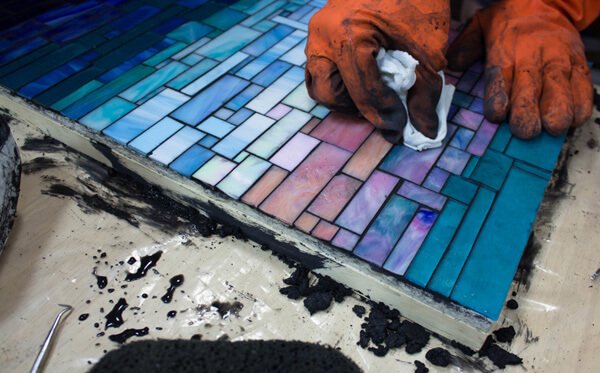
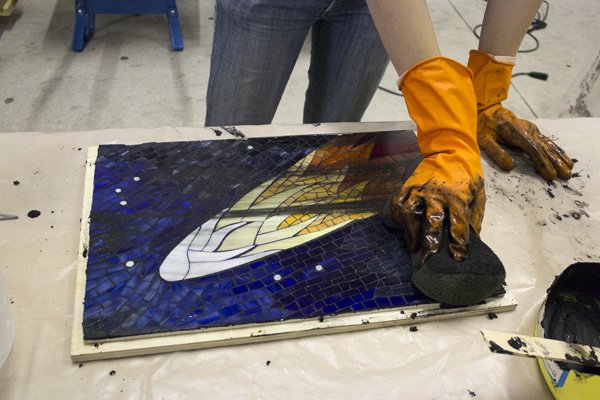
4. After the glue cures for 24 hours, grout the mosaic with regular tile grout. Follow our comprehensive guide to grouting, “How To Grout Mosaic Art“.

For more complicated designs, you can lay the project up on fiberglass mesh (by gluing sparingly with Weldbond adhesive), or you can pick up the tiles with clear contact paper. In either case, the next step would be to spread glue or cement on the surface and press the sheet of mosaic onto the glue or cement.

We have even more information, advice and how-to’s on our Frequently Asked Mosaic Questions page.

Continue to wipe off the excess grout.
Grouting isn’t as agonizing as you might imagine – follow our step-by-step grouting instructions.

We carry everything you might need to make a mosaic:


See the Mosaic Tips below for more help with your mosaic.

Mosaic Tips from Our Resident Mosaic Artist

  • Start simple.
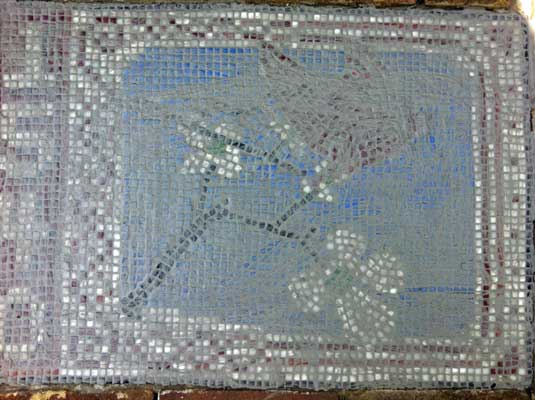
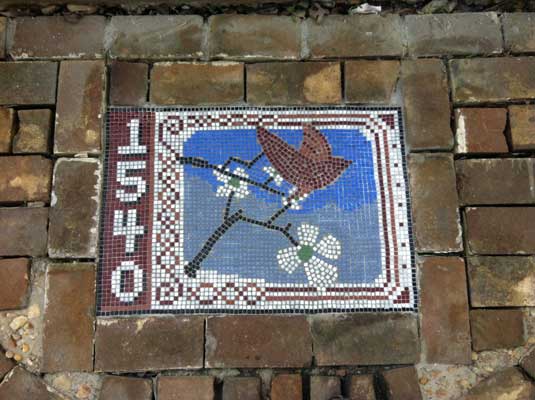
  • Make a small mosaic plaque before you mosaic a wall or floor. That way you can work out your materials and methods before the big job.
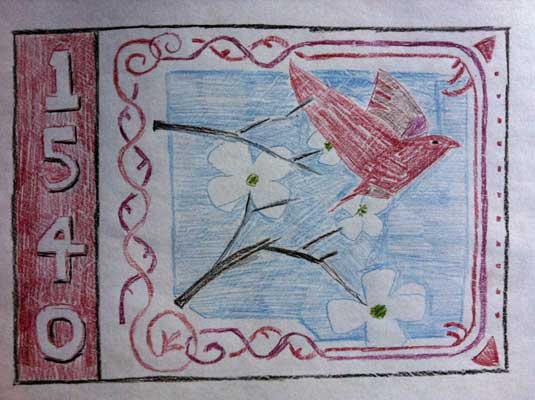
  • How can you draw a design? Simple drawings like those in a coloring book work best. The color and the details come when you add the tile and glass. I always sketch something on paper and then come home and draw a simple cartoon on my plywood or concrete board using a magic marker. If drawing is a sore spot, you can create mosaic patterns easily without drawing as well.
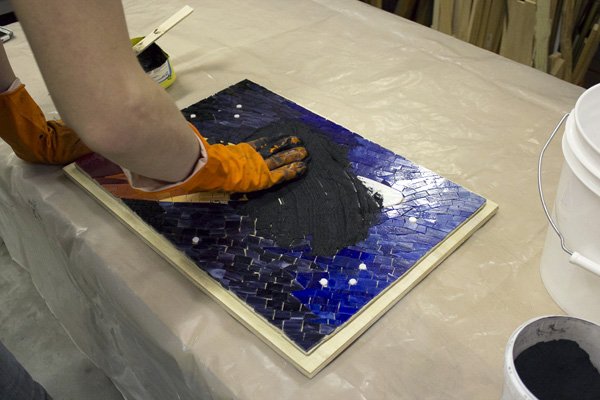
  • My first rule of grouts is to choose a contrasting color. If you use white grout with white tile or grey grout with grey tiles, then the tiles don’t stand out from the grout, and most of the detail of your design will be lost. When in doubt, black grout is usually the answer.
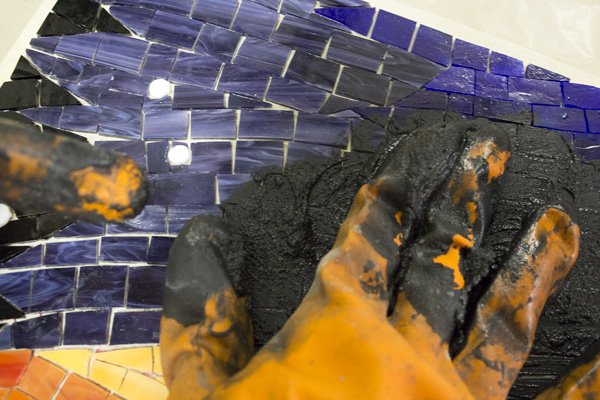
  • My personal second rule of grouts is that DARKER GROUTS ALMOST ALWAYS LOOK BETTER. I have almost always been disappointed when using plain white grout. White grout makes a nice mosaic look like a summer camp project! Try an off-white or light beige if you think you need a light color. Also remember that grouts are much darker while they are wet and get lighter as they cure.
  • Don’t know anything about glues, grouts or tiling? Your local hardware store or handyman is a mosaic expert even though they’ve never made one. (You might not know anyone who has made a mosaic, but you probably know someone who has tiled a bathroom or kitchen. The technical skills are very similar.)
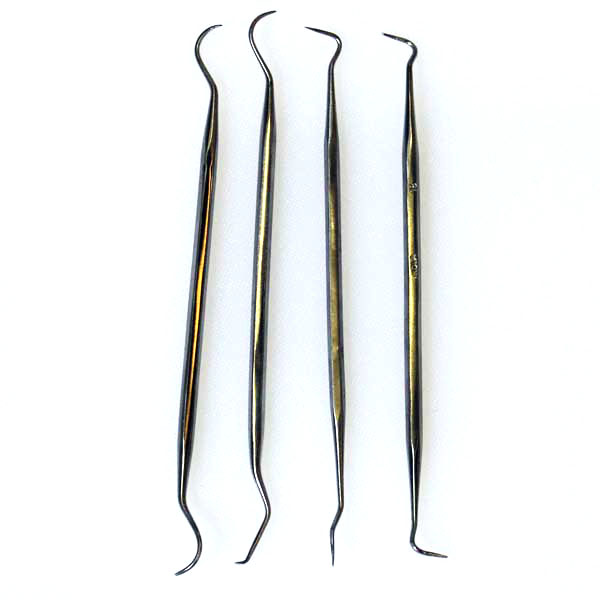
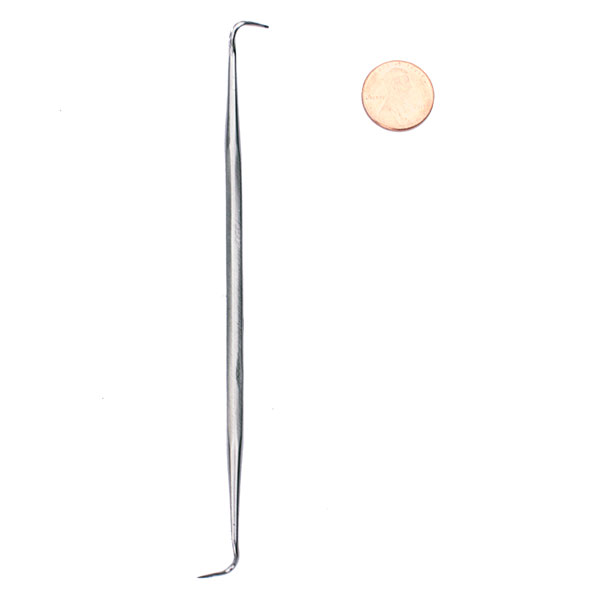
  • Use a wheeled glass cutter to cut glass and smalti. Use a tile nipper to cut ceramic tiles, china and other dishes.
  • Always wear safety glasses when cutting tile or glass or mixing grout. (Grout is mildly caustic and has sand and grit in it.) Making a mosaic can be fun but you should always be careful.
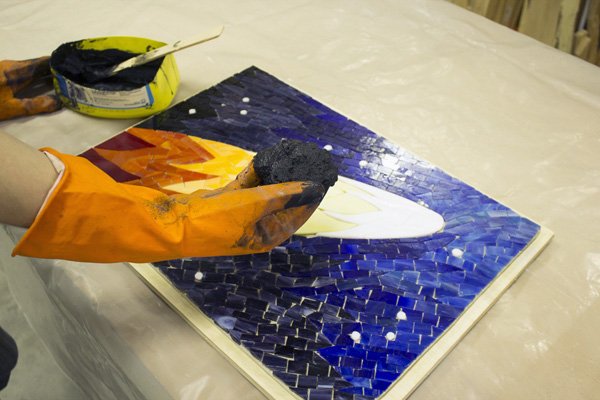
  • Grout mosaics outside. It’s a messy process. Look at books on home improvement for basic techniques of grouting if you’re not sure. Keep grout damp as it cures and do not allow it to dry out rapidly, otherwise it will crumble. Remember, the grout is binding water internally in a chemical process as it cure. It is NOT drying.
  • Keep mosaic tiles and supplies out of reach of children. Use caution when handling the broken glass and ceramics.
  • Spend a little more time on your mosaic. Don’t rush and don’t think about what you want to make next. It can make a world of difference in your satisfaction.
  • Avoid plywood as a backer unless you can seal the edges and bottom. Wood materials absorb water over time and warp, and then grout and tiles pop off. You might not be trying to recreate a timeless Roman mosaic that will endure for centuries, but at least make something that will last 2 or 3 years. Use plywood at least 1/2″ thick inside and concrete or concrete board outside. Always use concrete or concrete board as the base of any mosaic that will be walked on. Concrete board can be purchased from building material stores. A common brand name is Wonderboard. For my indoor mosaics, I laminate 1/4″ Wonderboard to cabinet grade plywood backers.
  • The best all-around glue for making mosaics is Weldbond. It is a water-based adhesive that looks and handles just like plain white glue, yet it cures stronger than many of the smelly solvent-based glues. The manufacturer’s brochure calls it “the most versatile, non-toxic, non-flammable adhesive on the North American market.” I agree. It bonds to hundreds of different materials and is very water-resistant once it dries. It cleans up easy with soap and water.
  • If you make a mistake, don’t be afraid to pry some of the tiles off if you don’t like what you see. (Wear goggles or safety glasses with side shields.)
  • I always wait for a week or two before I grout a piece. That way I have a chance to change things before they are literally set in concrete.
  • Simple and crude can also be noble. It’s ok if your art has blemishes and mistakes. That’s what makes it interesting and keeps it from looking like it was made on an assembly line. Don’t try to make it a perfect reproduction of anything, and you’ll probably be much happier with the time spent and the results.
  • Avoid making copies of phony arts-n-crafts stuff. There’s way too much of that around. Make your mosaic YOUR way and it will be genuine art in the highest sense of the word.

Legal Disclaimer and Copyright Information

No warranty is implied by these instructions. Use at your own risk. Please wear goggles when cutting mosaic materials or mixing grout. Mosaic materials are often sharp. Keep out of reach of children. Do not overload patio tables with mosaic materials so that the table becomes unstable (top heavy). You should also make sure that the table frame can support the overall weight. Copyright 2009 J.E. Moorman. Please link to these instructions freely, but email us if you would like to reproduce them for classes, etc.

How To Grout Mosaic Art

Learn to grout mosaic art
Learn how to grout mosaic art in this tutorial.

There is nothing unique about mosaic grouts. The grouts and sealers used for mosaic artwork are the same ones used for ordinary bathroom tiling, and the techniques of applying the grout are the same. If you are ever uncertain and need information in a pinch, you can ask questions at your local building material store or look at their book on how to tile or bathroom repair, which they usually keep on the same aisle where they sell grout and supplies or in the plumbing department or near the registers. The point is that grouting isn’t rocket science and most handymen and women have done it before.

We carry everything you need to start grouting right away.

Estimating How Much Grout Is Needed

How much grout you need depends on three things: the area of the mosaic = L x W, the thickness of the tiles and the gaps between the tiles. If the tiles are well-spaced (all gaps under 1/4″), then you should be able to cover the entire mosaic of 18″ x 18″ with 2 lbs of grout. This is assuming your tiles are under 3/8″ thick. I always set my mosaic on an old shower curtain or piece of plastic to catch all the wet grout that falls off the side as I’m spreading it. That way I can scoop it up all the dropped grout and re-use it. Otherwise you need a lot more grout because most of it is wasted when it falls on the dirty floor.

If the gaps between your mosaic tiles are greater than 1/8 inch, then you may need grout with sand in it, such as we sell. The sand reinforces the grout to prevent cracking if the gaps are greater than 1/8 inch. Note that standard grout gaps are usually about 1/16 inch.

How to grout a mosaic

Step 1: Preparation

Grout outdoors if at all possible to minimize dust contamination and clean up of wet grout. Wherever you work, set up a clean area to work in and make sure you have all the tools you will need. Usually you need a bucket of water, some kind of tray to mix the grout in, a mixing stick, a sponge, rubber gloves, a dust mask, and some paper towel or old rags. You can use latex gloves in a pinch if your mosaic is made from smooth tiles, but rubber gloves are recommended when you’re grouting any kind of tile that has sharp edges. Those edges will rip through latex gloves as you spread the grout around.

The mosaic needs to be fully dried before you begin. Wait at least 24 hours after gluing down the last tile before you grout your mosaic if you used Weldbond.

Workspace set up for grouting.
Set up a clean workspace for grouting.

Step 2: Mix the Grout

Wear a dust mask when you do this step. Estimate how much grout you need for the mosaic and pour it into the tray. In this example we used the cut-off bottom of an old plastic jug. If you don’t mix enough grout you can always mix some more. The grout container should indicate how much water to use. The dust generated in this process is very fine and can spread all over the place, that’s why it’s best to do this outside. If you do grout inside, just be sure to vacuum the area once you finish grouting.

Mix grout with a common paint mixing stick.
Add water and stir the grout with a paint mixing stick.

Step 3: Grout the Mosaic

This is the least complicated step. You just need to grab a glob of grout and mush it into the mosaic. Keep doing this until all areas have been covered in grout.

Just grab a glop of grout and put it on the mosaic.
Start with a big glob of grout.
Rub grout into the mosaic.
Just smear it into the mosaic.

Step 4: Verify Total Grout Coverage

Before you haze the grout, you need to be sure that all of the cracks were completely filled. Look closely and ensure that there are no bubbles between the grout and the wood. Run your fingers along each crack and push the grout down in.

Detail of pushing grout into cracks.
Make sure grout gets in every crack.
Grout covering the entire mosaic.
Now you’re ready to wipe off the excess.

Step 5: Clean with Grout Sponge

For smaller projects you can sometimes omit this step and just use rags and paper towel to wipe off the excess grout, but for anything approaching 1 square foot in area or larger you want to do it with a sponge as demonstrated here.

Animation of wiping the grout off.
Wipe a straight line in one direction.
Wash off all the excess grout.
Rinse the sponge when it’s covered in grout.

Step 6: Clean the Haze

The sponge will have cleared the bulk of the extra grout off, but there will probably be a thin grout haze left over. It’s okay to let the haze dry for a few minutes to make it more visible and easier to clean before you try to wipe it off. To clean it use a dry rag or paper towel. You should be able to clean an area of 1 square foot with only 1 or 2 paper towels.

Grout haze on the mosaic.
A thin haze is still on the mosaic.
Polish the haze with a paper towel or rag.
Polish the haze off using a paper towel or rag.

Step 7: Final Touchups

Look around for areas where grout is built up on any tiles. This usually happens where tiles are of different thicknesses. This can be done with a rag or paper towel wrapped around your finger. Make sure the grout is roughly flush with, or slightly lower than the tiles around it.

Grout on a lower tile.
Grout is built up around this tile.
Look around for other such spots.
The same spot wiped clean.

All done!

Once it’s cleaned off you’re finished with the grout. Allow a few days to cure fully, but usually it should be pretty solid after a few hours. The time for full curing can depend on the heat and humidity where you did the grouting. Some pieces of dust or sand may slowly fall off the mosaic over the next few days, don’t be alarmed if that happens.

Mosaic with grouting complete.
The comet is finished and is ready to be installed in its table.
Mosaic Comet Table by Natalija Moss
Stars are illuminated by LEDs.

Selecting a Grout Color

I always choose a grout color which contrast the colors of the mosaic tiles so that the design is highlighted. Otherwise the individual tiles run together and are lost to the eye, and the mosaic looks more like an ordinary picture and less like a mosaic made from pieces. I avoid situations like gray grout with gray tile. A nice red-brown terra cotta grout works better in that instance. The key concept is color contrast instead of matching colors.

Color is best provided by the tile, not the grout. In terms of a visual element, the grout is supposed to act like a thin gray pencil line whose only purpose is to make each tile distinct. I don’t think I’ve ever seen a mosaic that used colored grout that wouldn’t have looked better if all tile had been used instead. For example, let’s say you wanted red tile in pink grout. A better way to get the same color effect would be to mix in a few pink tiles randomly throughout the red tiles, or maybe use a few lines of pink tiles. Often this means you have to cut your tile just a little bit smaller. That being said, it is possible to dye grout.

Dyeing Grout

There are mineral concrete dyes sold at building material stores, and these can be used, although the range of colors is limited to black, brown, gray, terracotta, etc. Vegetable dyes such as food colors will not work. You can use artists acrylic paint to color grout by mixing it in the wet grout. I recommend experimenting with tiny batches of grout and letting it harden before grouting a mosaic you have worked many hours on.

The Best Grout Color

Sometimes it is hard to decide which color grout to use because your mosaic already contains so many colors. The best color grout to use for most mosaics is black. Here’s why: The purpose of grout in visual terms is to make each tile distinct in the same way a pencil line in a watercolor is used to provide definition but not color. Black provides just enough contrast to most colors, unless you have black tile, and then you might want to consider something else.

Avoid pure white unless you are trying to make something that looks like a little kid’s summer camp project. Most building material stores such as Lowes and Home Depot cary about 30+ colors of grout. We carry the most commonly needed colors. Bring a few of each color of your tiles with you, and you can pick the color grout that works best with all the tile.

Grouting Stone Tile and Unglazed Ceramic

You should always seal unpolished stone and unglazed ceramic tiles with a tile and grout sealer BEFORE you grout. This is necessary for all porous materials that can be stained by grout. You should seal using a Stone Enhancer instead of tile and grout sealer if you want to darken and enhance the natural color of the stone. Both of these products are available at local building material stores. For a stone mosaic that is already stained, you might want to try some of the muratic acid that contractors use to clean cement from bricks.

Cracking and Crumbling Grout

You shouldn’t let the grout dry out as it cures. Cover with plastic if necessary. Lightly mist with a spray bottle, but don’t let drops accumulate on the surface of the grout. It also helps if you mix the grout according to instructions. It should be like a thick moist dough when you start with no dry material or lumps, and it should stick to your mixing wand, not drip, slide or crumble off.

Sanded Grout vs. Unsanded Grout

Don’t use unsanded grout. Unsanded grout is only used to fill hairline cracks. (Or it is mixed with sand for normal use.) If you use unsanded grout, then you can expect cracks in your grout and grout that isn’t quite as hard and durable.

Note: some tutorials incorrectly advise against using sanded grout because it might scratch the tile during grouting. Very few high quality mosaic materials will be soft enough to be damaged in this way, and you shouldn’t be using such easily scratched materials in any functional setting (bathrooms, counters, table tops et cetera…). Some ‘craft’ materials may have softer glazes which could be scratched by sand, but if you grout carefully the issue is easily avoided. There is no need to use a lot of force when grouting. If you have doubts about the durability of your materials, make a small test piece first.

If you decide to use unsanded grout, be sure to understand exactly why you are using it instead of the the stronger alternative.

Disposal of Grout Waste

Never pour grout down your drains. Grout is concrete, and that isn’t good for your plumbing. It will clog the pipes. I make a point of pouring as much of my grout sludge in an old cardboard box and allowing it to harden for disposal as solid waste. I always just dilute the dirty grout water and pour it in on my compost heap. The grout is a limestone product, so it actually helps balance the pH when there is excess decaying organic matter. Of course, this only applies to traditional grouts. I am not familiar with the synthetic epoxy grouts that some craft sites are selling. For easy cleanup, I always do my grouting in the backyard instead of indoors.

Outdoor Mosaic Project

An example of how to design, tile and grout an outdoor mosaic on a cement backer.

The following is a case study of an outdoor mosaic by David Cater, using work-in-progress photos taken by the artist. We have a separate page which summarizes our general instructions for outdoor mosaics, but the example below gives lots of insight.

I was deeply touched by David’s project, especially how he hand set each tile. My first mosaic was made almost in a trance state where I had no concern for efficiency or how much work it took. I hand chipped broken china with an ordinary claw hammer and didn’t even take the time to get a tile nipper, even though that tool would have save me hours and hours. It really was a labor of love, and I see that in David’s project too.

In the text below, I explain how David executed his project, but I also make comments on how the mosaic could have been made with less labor.


David Cater
David’s initial sketch


David Cater
Laying out the tiles beforehand


David Cater
Complete layout

Concept Sketch

Like most mosaic projects, David’s sidewalk mosaic started as a concept sketch where the street number of his house is incorporated with a cardinal and dogwood design. Note how the red cardinal matches the red of the border, which helps to integrate the picture with the design as a whole. Note how the blue sky and the white dogwood make good contrasts with the red.


Choosing Colors

Color choices are as important as the composition. To save frustration, get your color choices worked out before you attach the first tile. Sometimes it helps just to play with tile laid out on the surface to be mosaiced. I like to draw my cartoon (outline) on the surface and lay the tile in the different areas of the cartoon.

Design tools like color wheels are great for picking out initial choices, but colors usually have to be laid side by side before you can be absolutely certain they work together. This is particularly true when using different shades of each color


Initial Layout

David laid out his design on a sheet of plywood as a temporary surface. Note that David screwed a frame around his work area to define the size of the mosaic and provide a stop for straight edges.

To speed the placement of tile, an outline of the design could have been sketched onto the plywood. Most people have difficulty doing this because they aren’t experienced with drawing. The good news is that you don’t have to be.


Easy Method to Transfer and Enlarge Drawings

Simply use a ruler to draw a grid on your sketch. Then draw another grid on your larger surface. Notice that each square of the grid on the drawing contains just a little part of the drawing, usually just a few curved lines. Draw these same curved lines in same square of the large grid. You don’t even have to think about what you are drawing. Just copy what’s in each square, one square at a time. This makes it easy to enlarge and transfer outlines.


Complete Layout

In the above photo, we see that David has his design completely laid out and all tiles positioned, which represents many hours of labor.

At this point, clear contact paper could have been pressed onto the face of the tile to pick the entire mosaic up at once, which would allow the mosaic to be installed rapidly by pressing into thinset mortar. However, one problem with using clear contact paper to pick a mosaic up like this is that individual tile can get out of position while the contact paper is being pressed down. This problem can be minimized by laying out the tile on a nonslip surface, such as a sheet of rubber. That way the tiles can’t easily slip out of place when the contact paper is applied.

Another labor-saving method would have been to lay the mosaic out upside down on brown mosaic paper such as the kind we sell. In that method, the tiles are temporarily glued face-down on paper using a water-soluable glue like Elmer’s Glue. The sheet of mosaic is then pressed into cement, which allowed to harden over night. Then the paper is misted with water and peeled off.


David Cater
The area to be mosaiced

Surface Preparation

David poured some new concrete approximately 4 inches thick for his mosaic. Note that the concrete is slightly lower than the surrounding brick so that the surface of the mosaic will be flush with the brick. You can put mosaics on existing cement, but you should use a wire brush to scour the surface to remove any loose sediments and invisible sealers, which could interfere with bonding.


David Cater
David transferred the tiles one by one onto the new surface

Mounting Mosaic Tile

David manually transferred each tile from his temporary tray and mounted the individual tile using thinset mortar.

Note that this means David had to manually position each tile twice: once in the tray when he laid up his design and then once again when he sets each individual tile in mortar. That is why using contact paper or mosaic mounting paper to pick the entire mosaic up at once for rapid installation saves an enormous amount of work.

Another technique for speeding the work is to lay the mosaic up on 1/2″ concrete backer board and then cement the entire concrete board in place using thinset mortar. The only caveat would be to make sure the edges of the board aren’t damaged and crumbly. The edges of concrete backer board can be repaired and reinforced using thinset mortar.


David Cater
Grouting after all tiles are down

Grouting the Mosaic

Grouting is done by smearing grout across the face of the mosaic and pressing the grout into the gaps between the tile. Indoor mosaics do not require grouting and the tile can be pressed tightly together. Outdoor mosaics must be grouted because the grout keeps water from penetrating between the tile, which is disastrous especially when the water freezes.

Make sure that you press the grout between the tile very thoroughly so that there are no voids or bubbles beneath a thin veneer of grout. This takes some repeated rubbing and pressing on the tile, and this is why you should never grout before the cement or adhesive has been allowed to harden for several days.

Note that a thin haze of grout can be buffed off after the grout has hardened, but most of this excess grout should be removed while still wet. The mosaic in the photo still needs some wiping. Make sure your sponge is damp but not so wet that drops of water could squeeze out and damage the wet grout. Keep your mosaic covered with plastic as it cures or otherwise keep it from drying out. Otherwise the grout will be soft and crumbly. Remember grout and concrete harden by binding water, not by dehydration.


David Cater
David’s completed mosaic

Seal Thoroughly

I should also note that outdoor mosaics on horizontal surfaces are particularly vulnerable to moisture and freeze damage because horizontal surfaces allow water to pool. (Keep in mind that the mosaics of the ancient Greeks and Romans lasted for millennia because the Mediterranean is a warm dry climate.) One thing that can be done to minimize this risk is to slightly tilt the otherwise flat surface or to make it slightly round. For example, the seat of a concrete bench can be rounded slightly using a small amount of concrete mortar to build up the center of the seat by approximately 1/2″ and gently sloping down to the edges. Of course, this would need to be done at least a few days before attaching tile.

Regardless of the orientation, all outdoor mosaics should be sealed thoroughly with a tile and grout sealer, taking special care to seal the edges. Multiple applications should be made to ensure that all of the tiny pores in the grout and concrete are sealed. For added strength and stain resistance, you can use a concrete sealer instead of an ordinary tile and grout sealer. Again, the most important points are to take special care to seal the edges and use multiple coats to ensure complete coverage.