
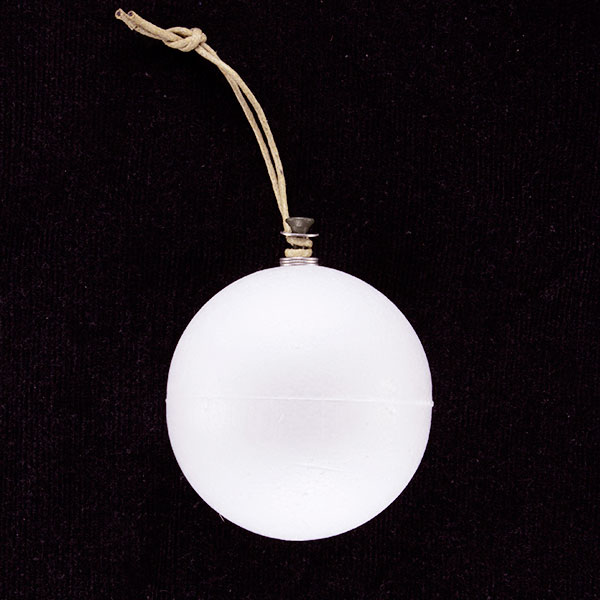
Mosaic base for a holiday ornament is made of the hard variety of expanded polystyrene that is used for fishing floats. The ornament base is spherical 3 inches in diameter, which makes it the size and shape of traditional Christmas tree ornament. The base comes with generic mounting hardware installed (designed to be repairable) and a 2mm beading cord loop which can be replaced with ribbon if desired. Note that the ornament hangs at an angle so that it resembles the earth tilted on its axis (hint). The ornament base hangs at a slight angle because the loop wraps the shaft of a 3-inch decking screw instead of a shallow eye screw like so many ornaments doomed to fail in a way difficult to repair. Our 3-inch screw’s corrosion-resistant coating also allows glue to bond to it better than bare steel, so the same white PVA adhesive Weldbond used to attach the tiles could be used to reinsert the mounting screw if it ever pulled out.
Product Specifications
- 1x hard expanded polystyrene sphere 3-inch
- 1x 3-inch deck screw #9 with corrosion resistant-coating
- 4x stainless steel washers #8
- approximately 4 inch loop of 2mm beading cord
Instructions For Using the Mosaic Ornament Base
There are three important tips for making a mosaic on the polystyrene sphere:
- Make sure you paint the sphere with adhesive and allow it to dry a few hours before you attempt to glue tile to it. The sphere by itself is so smooth, than any tile stuck to it tends to slide downhill. A layer of dried glue is much more tacky and will help prevent tiles from sliding. You can use your fingertip to paint on the glue.
- Lay your ornament on an old folded up towel as you work on it to keep it from rolling over. A coffee mug can also be used. Work on the part of the sphere facing up, allow the area to partially dry and then rotate the sphere slightly to work on adjacent areas.
- Put the mosaic ornament near a central heat vent or AC vent to speed drying, but not too close to fireplaces and wood stoves and places that get too hot.
Here is a step-by-step procedure for putting a mosaic on the ornament:
- Hang the mosaic over some old newspapers or place where glue can drip.
- Use your fingertips or a small brush to paint the sphere with a white PVA such as Weldbond adhesive.
- Allow the glue to dry for at least several hours. Hang the ornament near AC vents and central heat vents to speed the drying.
- Place the sphere on its side on an old folded up towel or on top of a coffee mug to work on it.
- Glue mosaic tile to the part of the sphere facing up, taking care not to work to far down the sloping sides because the tile will slide.
- Allow the glue to partially dry and then rotate the sphere slightly to one side so that an adjacent bare patch is now facing up.
- Continue tiling and rotating the sphere as needed until it is covered. Take care not to rotate the sphere prematurely and cause tile to shift while the glue is still soft. Take advantage of vents and warm locations to speed the process.
- Allow the fully tiled mosaic ornament to dry overnight or longer if needed before grouting. If the glue isn’t fully dry, then wet grout could cause tiles to pop off.
- Grout the mosaic with gloved hands over a plastic basin such as an old dish pan.
- Haze the grout the next day by burnishing with a cloth until all tile is free of grout residue.
- Do not over tighten the mounting screw. Hand tighten only.
- If the screw becomes loose or pulls out, squirt a white PVA adhesive such as Weldbond into the hole and reinsert.
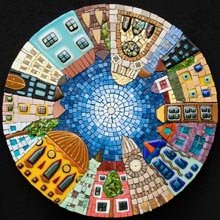
Which Tile Works Best For The Ornament?
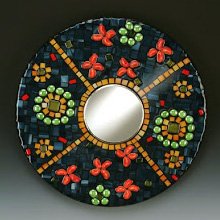
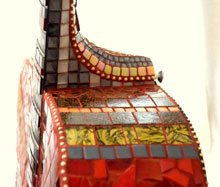
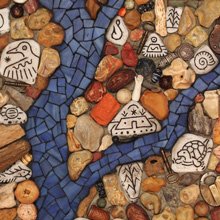
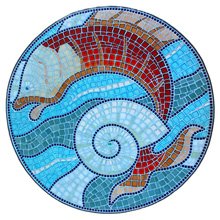
Our stone is too thick and heavy. Glass tile works best, preferably stained glass, Elementile, and the 3/8-inch mini tiles. The 3/4 inch tile can be used as well, but it would need to be cut to fit to the curvature of the 3-inch sphere. Keep in mind that if you use cut tile, especially stained glass, then take the time to smooth any sharp edges before gluing on the tile. You can use a marble file or a rubbing stone such as we sell, or you can use a piece of stone as I did for years and just rub the edge on that.
How Much Tile Do I Need For A Mosaic Ornament?
The surface area of the sphere is about 0.2 square feet. That means you should be able to tile an ornament with one of our 6×6 sheets of stained glass, which are approximately 0.25 square feet. However, you will have to be careful and not generate too much waste as cutting scrap (slivers). We recommend keeping the grout gap small (1/16 inch or less). The following numbers are based on a grout gap of 1/16 inch, but you might need slightly more of the 3/4-inch tile because that will need to be cut up:
- 8mm tiles: 255
- 12mm tiles: 106
- 3/8 inch tiles: 155
- 3/4 inch tiles: 46
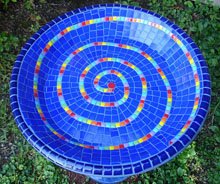
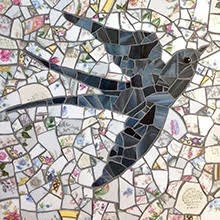
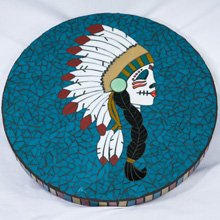
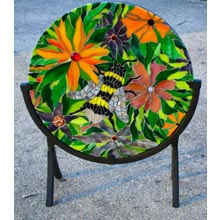
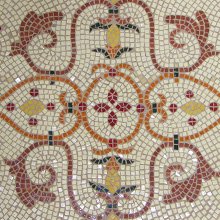
How To Make Mosaic Art
For more advice on designing your mosaic project or mounting, cutting, and grouting tile, please see our page of Mosaic Frequently Asked Questions or our Mosaic Information Guide, which lists instructional pages described by topic. We also post new articles about making mosaics at our How to Mosaic Blog.


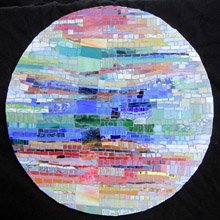
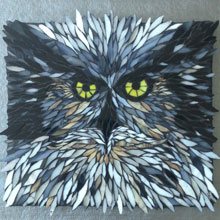
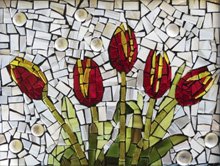

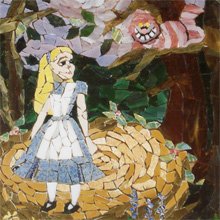


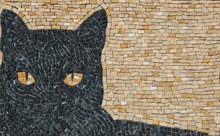


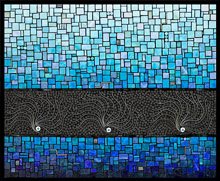


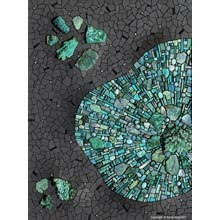


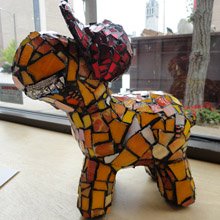


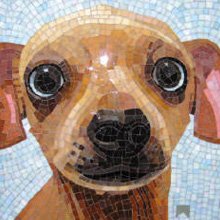

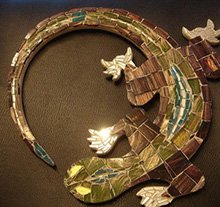
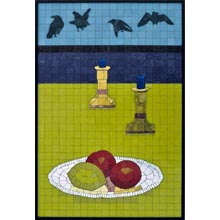


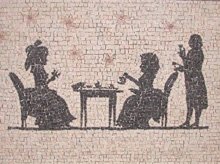


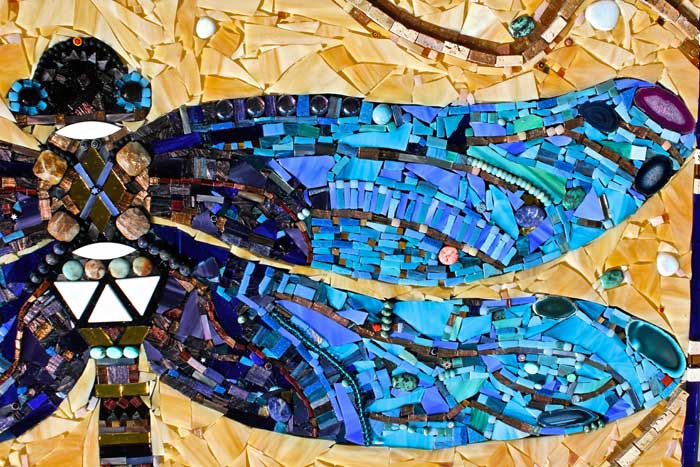

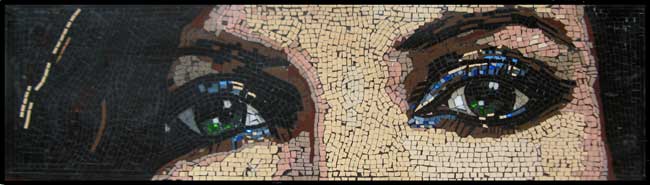
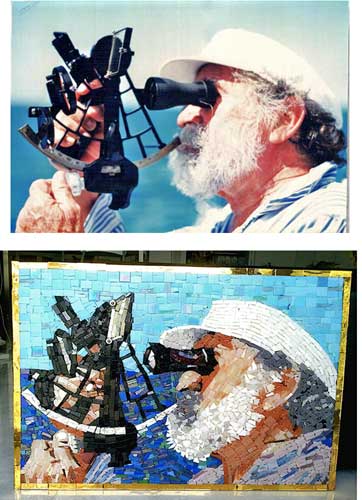


 Jill resides in the Bronx, where she is a certified arborist for NYC parks, as well as the Queens forestry division. Jill plans to retire to Puerto Rico so that she can create mosaics full time.