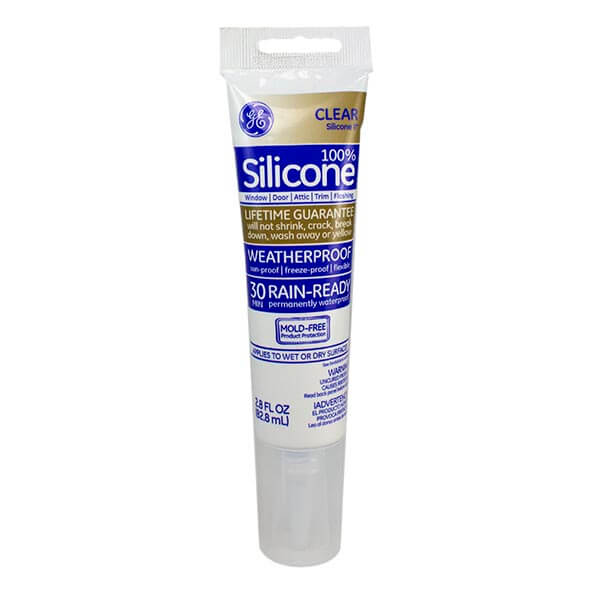
The 298ml (10.1 oz) cartridge of GE Advanced Silicone 2 is intended for use in a caulking gun. It covers up to 20 square feet depending on surface roughness.
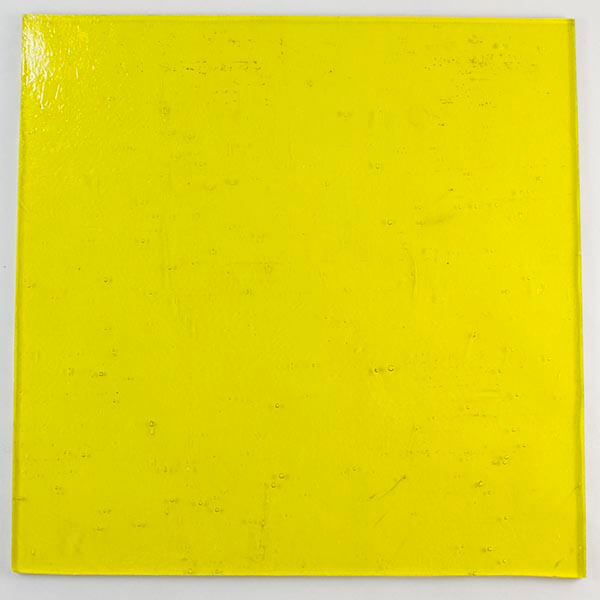
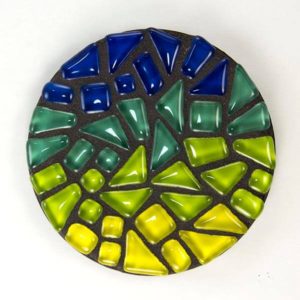
GE Advanced Silicone 2 Window and Door adhesive can be used for glass-on-glass mosaics or for doing mosaic artwork on certain metal surfaces such as a mailbox. We do not recommend Weldbond for glass-on-glass mosaic applications because Weldbond will NOT fully cure when placed between two pieces of glass. Silicone will cure properly and remain clear when used to laminate two pieces of glass, and so it is preferred for that application instead of Weldbond.
GE Advanced Silicone 2 Clear Window and Door Formula Adhesive
- Dries Clear
- Waterproof
- Resists Mold
- Water resistant in only 30 minutes
- Less than 3% VOC by weight
- Dry to touch in about 3 hours
- Full cure in 24 hours
Product Specifications
Read the manufacturer’s specifications and instructions here.
Advanced Silicone 2 is a clear sealant and adhesive suitable for wet environments. It is a single-component neutral cure silicone suitable for use on a variety of materials including glass, metal, and wood. It dries with some permanent flexibility which makes it suitable for glass-on-glass mosaics and on mosaic mailboxes. It will bind to many metals such as steel and aluminum. Conforms to ASTM C920.
Advanced Silicone 2 should NOT be used underwater such as in a pool or where water exposure will be continuous, such as in an aquarium. These applications should instead use thinset as an adhesive.
Product Coverage
The 298ml (10.1 oz) cartridge of Silicone II covers about 20 square feet IN THEORY. Actual coverage is about 20% less than that for most users doing detailed work, but messy users or coarsely porous substrates could require significantly more glue. The coverage is greatly affected by how neatly you work and how thick you apply the adhesive.
Use In Mosaic Art
We recommend silicone for glass-on-glass mosaic applications, and for mosaics on top of metal surfaces, such as a mailbox. For most indoor mosaic applications on wood or cement board where no water exposure is expected we instead recommend you use Weldbond.
Limitations
Not for Submerged Applications
Silicone is water-proof when fully cured, but it should not be used where permanent exposure to water is expected, such as in a pool. Mosaics in wet locations such as pools and fountains should be made with thinset bonding mortar (a type of sticky concrete) instead of adhesive.
Other Limitations
Silicone is messier than Weldbond and is harder to work with for this reason. Always have extra rags or paper towels on hand. When using the 298ml (10.1 oz) caulking gun tubes we recommend using a caulking gun with a quick tension release lever on the handle. We carry this product because it fulfills two use cases where Weldbond is unsuitable — glass on glass mosaics and mosaics on metal surfaces.
Silicone should not be used with small children, as it can be harmful when swallowed. We can NOT recommend it be used in a project with participants who are not yet high school age.
How To Make Mosaic Art
For more advice on designing your mosaic project or mounting, cutting, and grouting tile, please see our page of Mosaic Frequently Asked Questions or our Mosaic Information Guide, which lists instructional pages described by topic. We also post new articles about making mosaics at our How to Mosaic Blog.
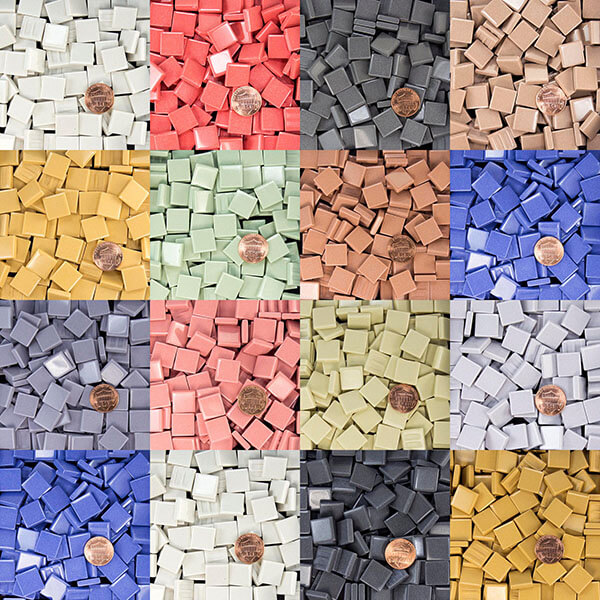
 Sample Boards for Morjo™ Glass Tile 20mm (3/4 inch) is a dated sample set from our current inventory. The samples for this product line are mounted on two boards.