Description
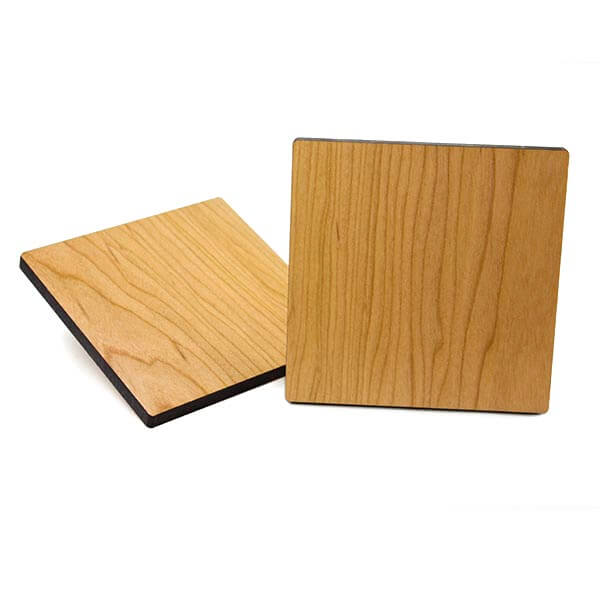
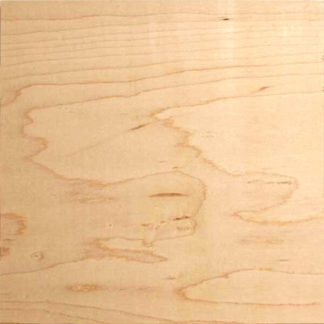
Mosaic Coaster Base Square THICK 5/16 Inch is made from cherry hardwood right here in the USA. The square base is 4 inches wide and 5/16 inches thick, which is thicker than the coasters we originally sold. They are cut out with a laser, so the sides have a natural burnt wood color. The bottom and sides have been lacquered. The top surface is bare wood for a good adhesive bond.
Note that the wood is not recessed to form a border for your mosaic. Instead, your mosaic should extend to the edge of the coaster so that the finished coaster looks like a fragment of an ancient mosaic. This is easiest to do when you use tile without a heavy embossed pattern on the underside, and for this reason, we recommend the 8mm Morjo Recycled Glass Mosaic Tile for use with the coasters.
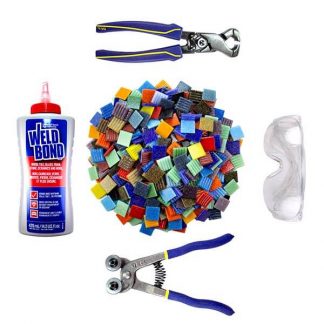
Weldbond adhesive or another high quality PVA glue is recommended for attaching tiles to the coaster base, and there are several options for grouting your mosaic coaster. You can press the tiles closely together instead of leaving a gap, but that requires much more time and effort than leaving an irregular gap and then grouting the mosaic. With an irregular grout gap of 1/16 inch or less, you can use almost every piece of tile you cut because it does not have to be exact. You can also use regular sanded grout to grout it.
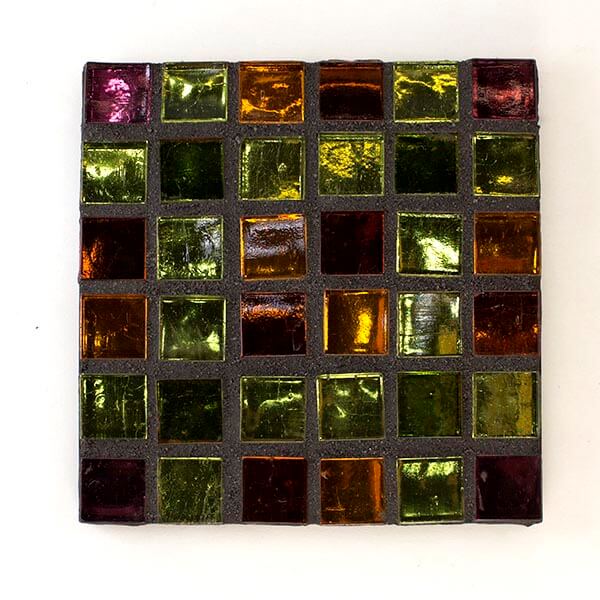
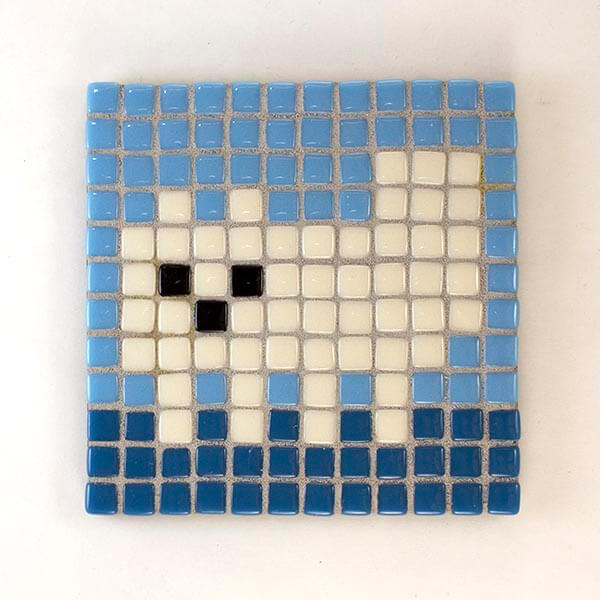
Mosaic Art Projects Using Coaster Bases
Product Specifications
- 1 piece hardwood cherry square coaster base.
- wood pattern is natural and varies by piece.
- width: 4 inches.
- thickness: 5/16 inches. THICKER than our original coasters.
- laser cut edges (natural burnt wood finish).
- lacquered sides and bottoms.
- bare wood face.
- made in America
Compatibility
Any type of glass mosaic tile could be used with these, but there is no border on the coaster, so your mosaic will go all the way to the edge. If you use a type of glass tile that has coarse embossing or bevels on the underside, then these might look odd at the edge of the mosaic. It is also more difficult to cut a tile into small pieces if the bottom has an embossed pattern. For these reasons, the coasters are best covered with stained glass or the 8mm and 12mm sizes of recycled glass mosaic tile by Morjo. We prefer Morjo to stained glass because stained glass tends to form sharper edges when cut. Whatever tile you decide to use, make sure you file off any sharp edges at the sides of the mosaic using a rough stone or marble file.
Instructions For Using The Coaster Bases For Detailed Mosaic Art
The coaster bases can be used any way you want, including simple projects for children with tiles glued randomly with variable grout spacing, and these make great first-time projects because they are small and do not require as much time and material. However, it is possible to create a more sophisticated mosaic design on the coaster using these instructions. Due to the limited space provided by the coaster, one of the most important steps is making sure you can cut tile small enough to render the smallest detail of your design and modifying your design if necessary:
- Find a design or picture. Google Images is a great source of photos, images, patterns, models to draw from.
- Draw a simple cartoon outline of your design.
- Try cutting up some tile and arranging it on the cartoon to see how it looks.
- Pay special attention to the smallest detail in your design.
- If it is not possible to cut tile that small, or the pieces seem too tedious to work with, then simplify your design.
- Note that when you start using glue, it will be easier to arrange small pieces because they will not move around as unexpectedly. Tweezers also help.
- Once you have you have verified that your design is not too detailed to be rendered in tile, then sketch the cartoon on the coaster in pencil.
- You can darken your pencil sketch with a Sharpie brand marker so that glue does not rub it off once you start working.
- Wipe Weldbond glue over the face of the coaster and allow to dry to seal the wood. Use a very thin coat to avoid warping the coaster from the moisture in the glue! Remember, the reason you are sealing the coaster in the first place is to avoid warping it later when you use lots of glue for the tiles. Use two light coasts and allow to dry thoroughly between coats.
- Start tiling your design from the center and working to the edges.
- Leaving an irregular grout gap of 1/16 inch or less is much easier than fitting the tile tightly together.
- At the edge of the coaster, cut the tile so that it fits flush with the edge. You can place a tile on the coaster, mark where it should be cut with a Sharpie marker before gluing and then make the cut.
- Use the fine side of a marble file or a piece of rough stone to rub the edge of the cut tile so that the edge is not as sharp.
- After the glue has completely dried (preferably for 48+ hours) grout your mosaic with sanded grout.
How Much Tile Do I Need For The Coaster Base?
The top surface of a 4-inch square coaster base has only 16 square inches (0.11 square feet) in area. This means you could cover it with 56 to 72 pieces of the 12mm Morjo or 112 to 161 pieces of the 8mm Morjo depending on how you cut and space the tile. In either case, you might want to order more than that to account for the cutting waste, possibly twice as much if you are fitting the tile exactly with no grout gap.
How To Make Mosaic Art
For more advice on designing your mosaic project or mounting, cutting, and grouting tile, please see our page of Mosaic Frequently Asked Questions or our Mosaic Information Guide, which lists instructional pages described by topic. We also post new articles about making mosaics at our How to Mosaic Blog.
