Description
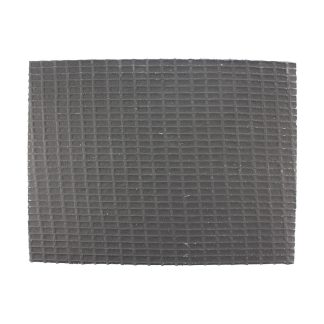
Update in Nov 2024:We now cut the boards ourselves with a table saw. There may be minor imperfections on some edges, but every board is suitable as a backer for indoor mosaic art. The new boards no longer have a shiny smooth side for the back. You can choose which side you think looks nicer, and use that one for the back. Mosaic on the side that you don’t think looks as good. We still have a limited quantity of 8 x 10 size with the old glossy backs, but when they run out that will be it.
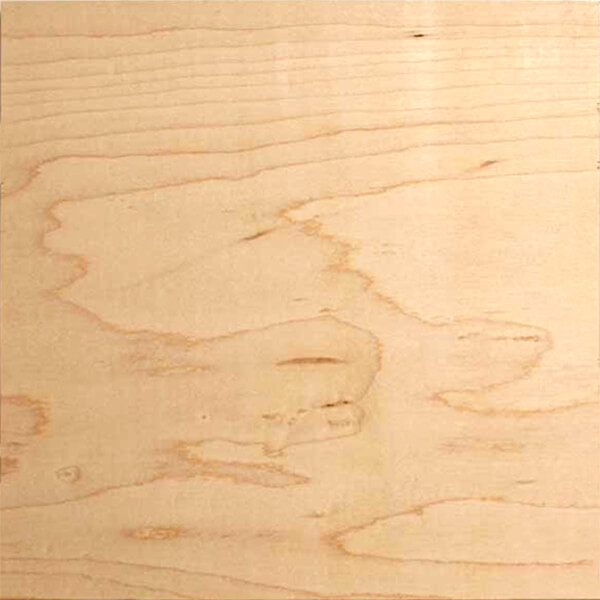
Our Plywood Mosaic Backer Boards are cut from 1/2-inch cabinet-grade plywood (either maple or birch based on availability) and are suitable for indoor mosaic projects such as plaques and trivets. The edges are unfinished cuts, which can be left as is or painted with a neutral color of acrylic paint, stained with wood stain, etc.
The faces of some boards may have small splinters missing from the sawing process, but these will be covered by the mosaic.
Plywood Mosaic Backer Boards
- Material: cabinet-grade plywood (either maple or birch based on availability).
- Dimensions: as stated
- Tolerance: within 1/32 inch of nominal dimensions.
- Thickness: Nominally 1/2 inch, exact is 15/32 of an inch
- Suitable for dry indoor use only.
Backers for Mosaic Art Projects
Using Mosaic Backer Boards
The Mosaic Backer Boards are plywood and are meant for indoor use only.
Should You Pre-Seal The Boards?
Ideally, the bare side of the wood should be painted with dilute Weldbond or another PVA adhesive to make sure that the wood doesn’t suck water out of the grout while it is curing. You can dilute the Weldbond 1:1 with water to help it spread more easily on the wood. However, many mosaic artists get enough glue smeared over the face of the wood while they are mounting the tile, and so this step of sealing the wood with dilute glue is not necessary for them.
The important thing to remember about pre-sealing is that you would never want to use paint or wood sealers on anything else (other than a PVA glue) because these other materials are likely to interfere with the glue or delaminate over the years.
Drawing Your Pattern
The pattern for your mosaic can be drawn directly on the wood with an ordinary pencil. You should do this before coating the wood with Weldbond. If you forget, you can draw the pattern on the wood with a Sharpie marker after the dilute Weldbond dries.
Make sure that your tile doesn’t stick out beyond the edge of the wood, which would make it particularly vulnerable to being knocked loose or chipped by random blows over time.
Indoor Vs Outdoor Mosaics
Outdoors
Wood of any type including plywood should NEVER be used for outdoor mosaics and wet mosaics because wood swells and contracts with changes in humidity, which will cause tile to pop off long before the plywood begins to show signs of warping. For outdoor mosaic projects, you must use stone or concrete if you want the mosaic to last for more than a year or two. For wall murals, mount the mosaic directly on a stone or masonry wall or use concrete backer board such as sold for underlaying bathroom tiling. For garden mosaics, use slabs of field stone or concrete stepping stones. Remember to scuff these with a wire brush to remove contaminants, sealers and loose material before mounting the mosaic with thinset mortar.
Indoors
Indoor mosaics not subject to water can be made on plywood to save weight. There is no need to use stone or concrete backer board as the backer or thinset mortar to attach the tiles. Instead, the tiles can be mounted using a white PVA adhesive such as Weldbond and then grouted.
How To Make Mosaic Art
For more advice on designing your mosaic project or mounting, cutting, and grouting tile, please see our page of Mosaic Frequently Asked Questions or our Mosaic Information Guide, which lists instructional pages described by topic. We also post new articles about making mosaics at our How to Mosaic Blog.